
At one time, I had 2 1/2 Time Machine games here. Two complete games, and another lower cabinet and playfield. I used the available parts to restore two of them, and ending up with spare parts to help other games. This is the second game restoration.
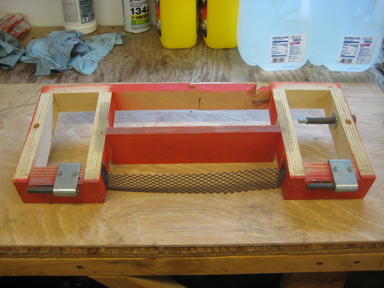
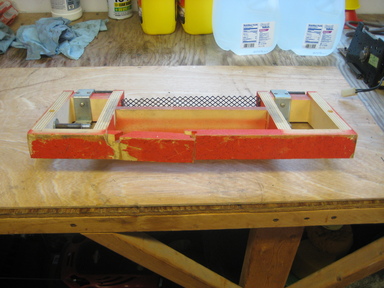
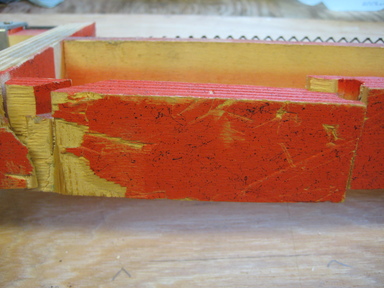
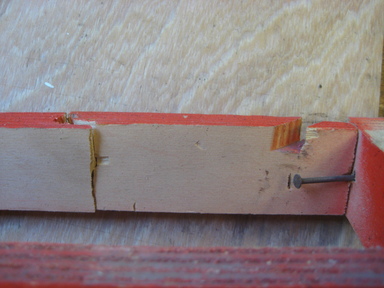
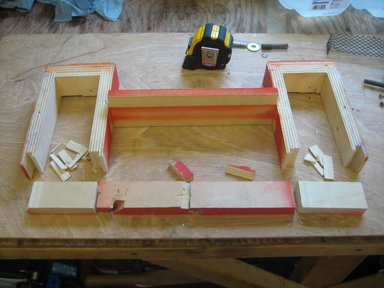
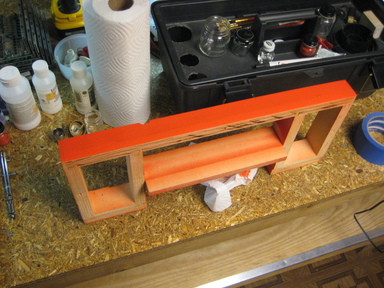
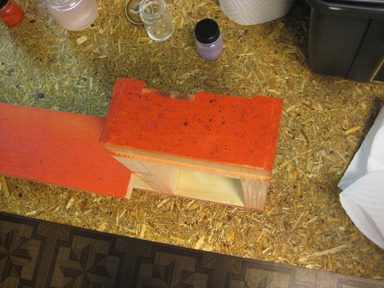
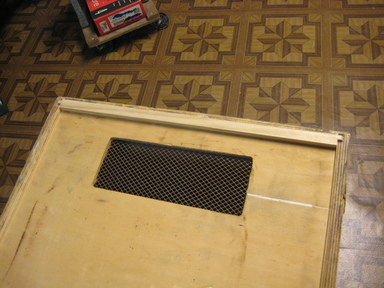
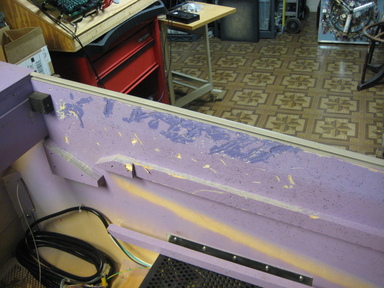
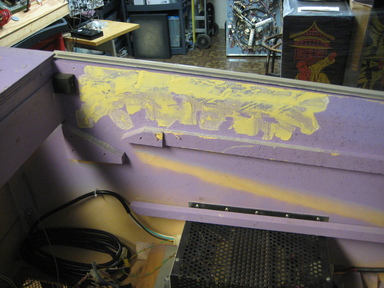
The cabinet neck had suffered some major damage at some time in the past. The back, especially, where the plywood was broken. Somebody tried to nail it back together, which probably worked well enough on location, but just won't do for a restored game.
|
|
| Cabinet neck from the front. | Cabinet neck from the back. |
|
|
| Cabinet neck damage closeups. | |
|
|
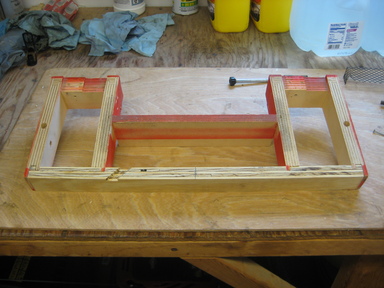
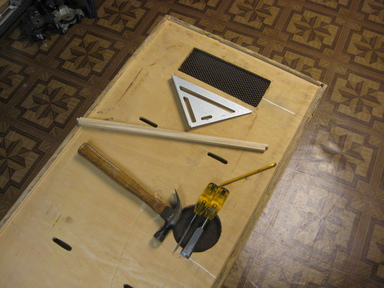
| It took a little while to remove the pieces of the old neck, chipping it out of the joints with a chisel, and cleaning up as much of the old glue as could be removed. | I spent some time with my table saw and a piece of 3/4" plywood to make a replacement piece. This is a fairly complicated piece, with bevel cuts on the top and bottom to match the rest of the neck, and the four tenon joints with the sides. |
|
|
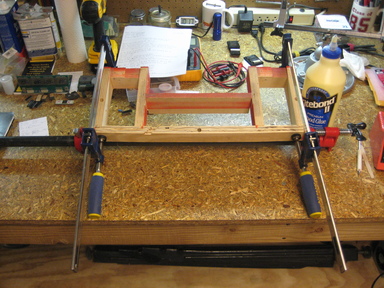
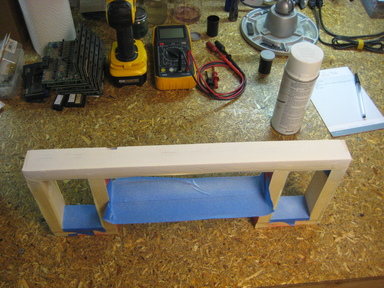
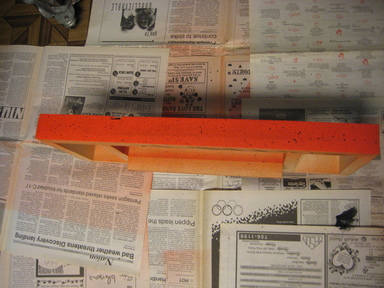
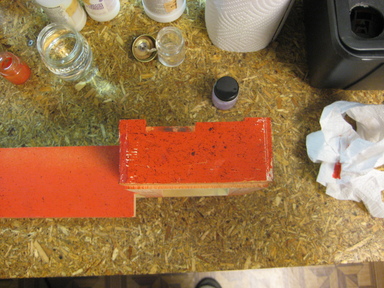
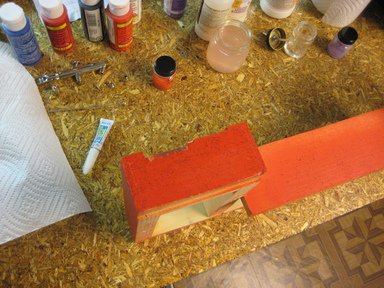
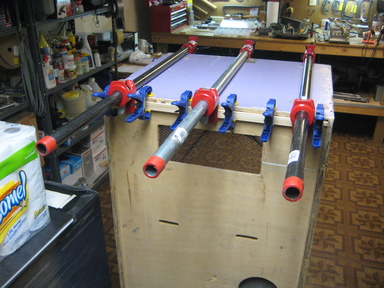
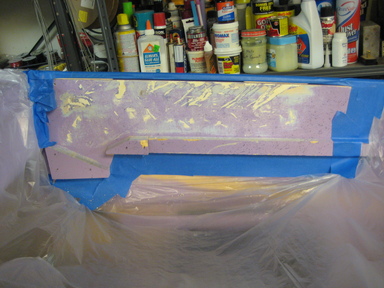
| Clamps and glue, plus a few brads, hold the new piece in place. | After filling the brad holes and sanding , some white primer to help the paint adhere and provide a reasonable colour match. |
|
|
| Top coat of orange, applied with my airbrush, to match the original neck colour. | Black speckling applied with a toothbrush and thinned paint, to match the original neck finish. |
|
|
|
|
| With the back of the neck looking good, the front pieces have to look good too. They're somewhat dinged up from age and wear and tear, so they got touched up too. | |
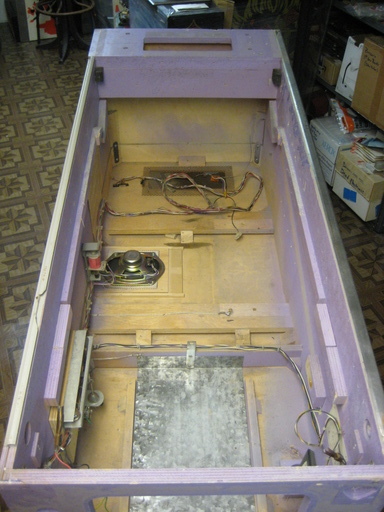
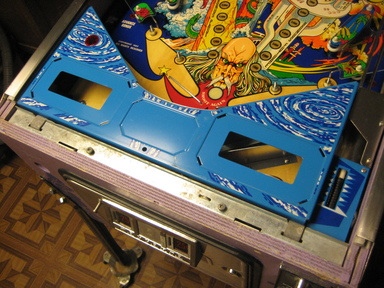
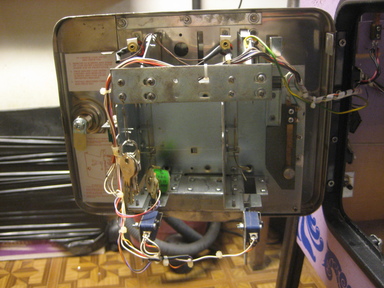
The cabinet was solid, with some normal damage from years of service and being moved around during its working life, and some dust and dirt from storage in the garage that I pulled it out of.
 |
 |
| Cabinet top and bottom. | |
 |
 |
| Cabinet right. | Cabinet left. Note the wrong flipper button. |
 |
 |
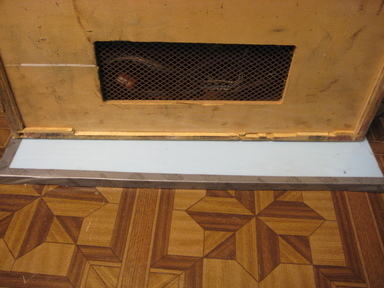
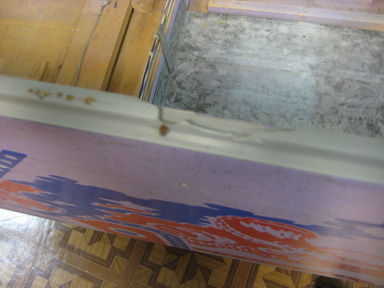
| The back edge of the bottom is splintered from being moved and catching on something. | Left siderail damaged, probably by having the backbox dropped on it. Not only does this look bad, but it makes it hard to get the playfield glass in and out. |
 |
 |
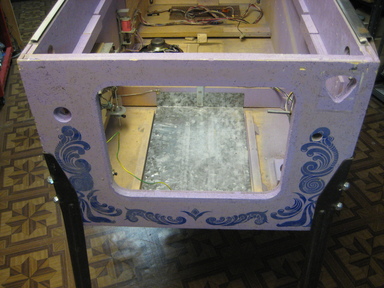
| Overall top view shot. | Cabinet front. |
 |
 |
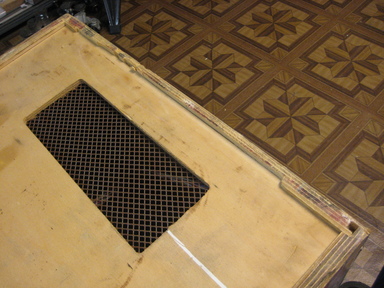
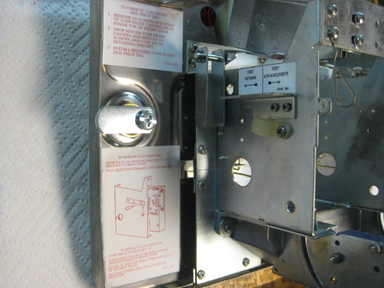
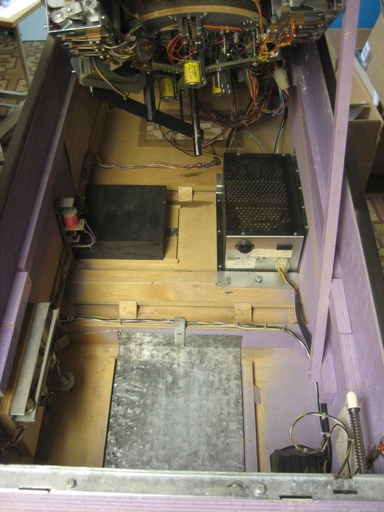
| Cabinet inside. The transformer has been removed, as have the siderails, done, and plunger. | Cabinet front with the done and plunger removed. |
 |
 |
| Cabinet left side. Note the damage to the plastic tracks that the playfield glass rides in, as well as the ugly touchups to the inside of the right wall. | Closeup of the damaged plastic track. I can't fix or replace this, but I can at least remove the damaged plastic pieces that are in the way of the playfield glass. It'll be hidden under the siderails, so not a huge problem in the end. |
 |
 |
| Cabinet bottom, back edge. This is a common problem, where the bottom edge of the back plywood gets caught on something as it is being slid along on its bottom, and splinters. | Repairing this damage. I removed as much of the damaged plywood as possible, without affecting the visible back of the cabinet, then cut a piece of solid wood to fit in place. |
 |
 |
| The repair piece fits in place, and will protect what remains of the original plywood as well as keeping the cabinet bottom in place. | Assembling the patch for the cabinet back, with lots of clamps and glue. After the glue sets, the bottom edge will be puttied and sanded smooth. |
 |
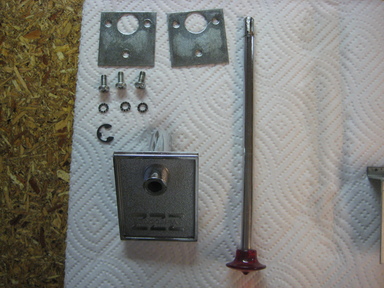 |
| The plunger assembly, as removed from the cabinet. | Plunger assembly parts being cleaned. |
 |
 |
| Lock down bar receiver pieces being cleaned. | Other cabinet hardware pieces cleaned. |
 |
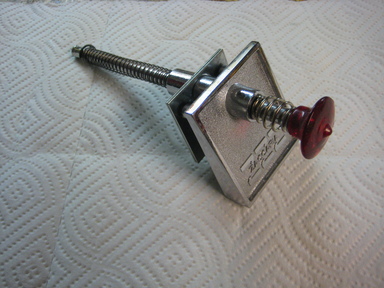 |
| Lock down bar receiver. | Plunger assembly, with new springs. |
 |
 |
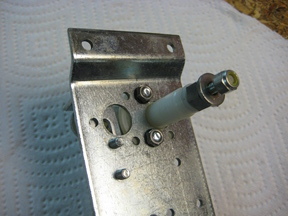
| Some home metal working on the left side rail. | Pounding out the dent. |
 |
 |
| After hitting the side rails with 3M Scotchbrite pads. | Closeup of the damaged area. It's not perfect, but it's pretty good now. Since these side rails aren't available anywhere, this will have to be good enough. |
 |
 |
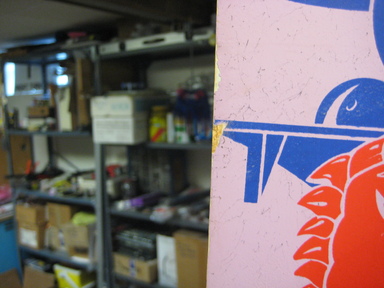
| Inside the right cabinet wall. Somebody previously touched this up. They didn't match the colour very well. | Wood putty, filling the gouges in the cabinet wall. |
 |
 |
| After sanding down the wood putty. Taped off for painting just the damaged area. | A much closer colour match, airbrushed, and black speckled. |
 |
 |
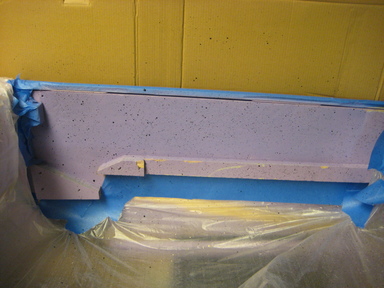
| Puttying up the cabinet edge on the left side to repair some minor damage there too. | |
 |
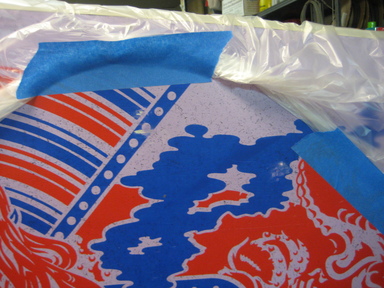 |
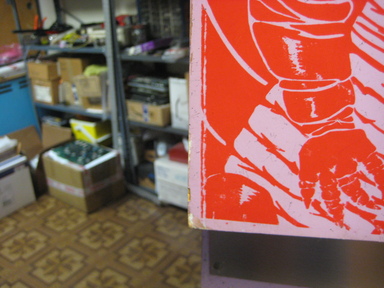
| Sanding the wood putty and painting the base colour purple before touching up the blue artwork. | |
 |
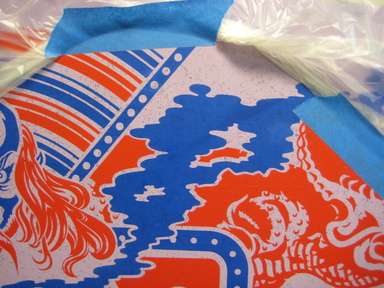 |
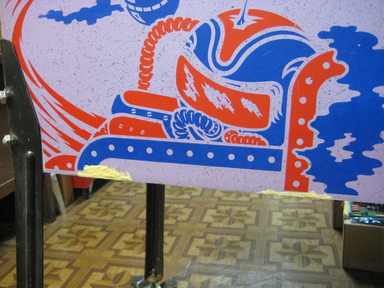
| After artwork touchup. | |
 |
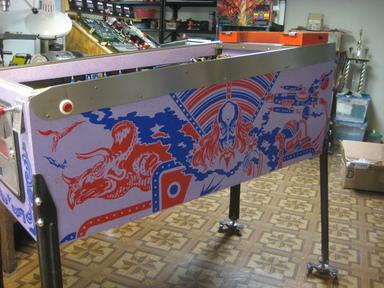 |
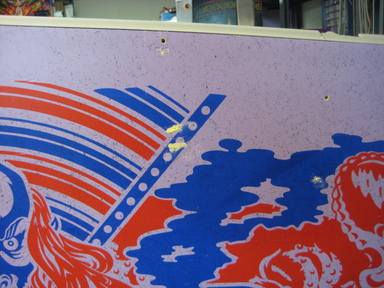
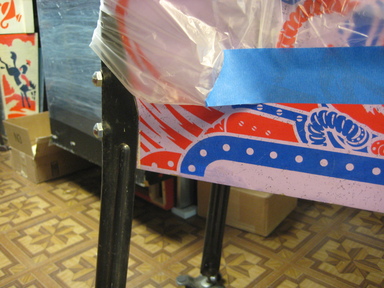
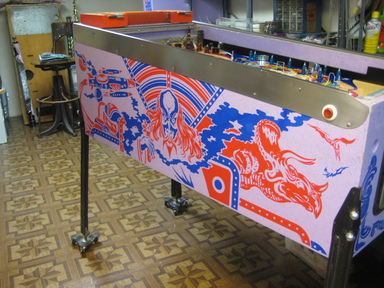
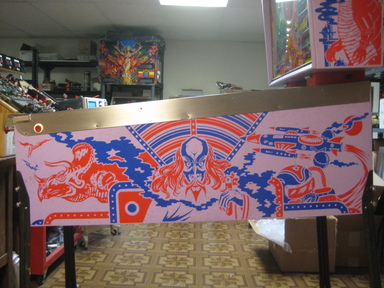
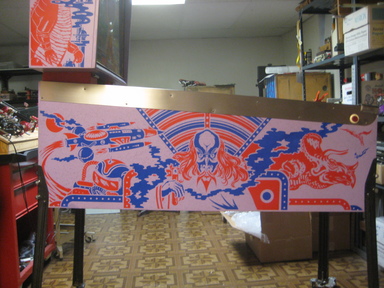
| Cabinet after touchups, repairs, and reassembly. | |
 |
 |
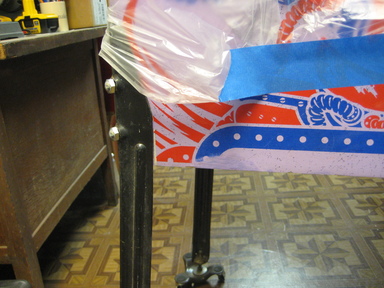
| More minor damage to be repaired and touched up. | |
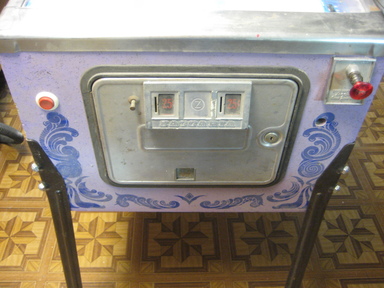
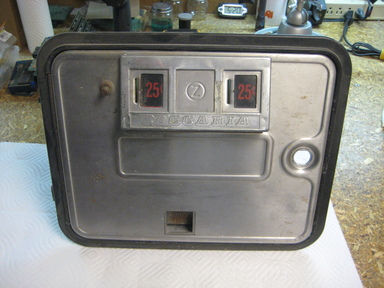
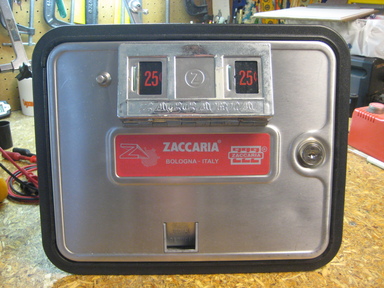
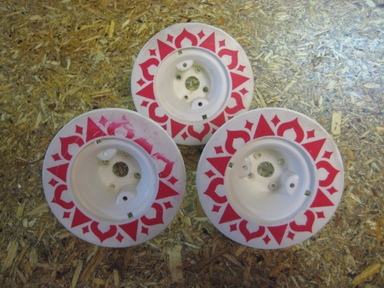
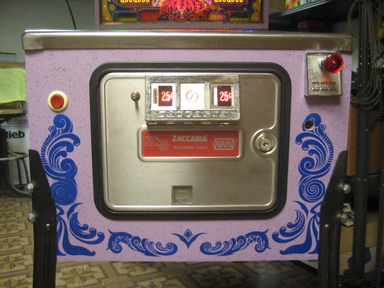
Nothing unusual here, just a coin door that needs to be cleaned up. At the front of the game, it's one of the first things you see when looking at it, so we want it to look nice.
 |
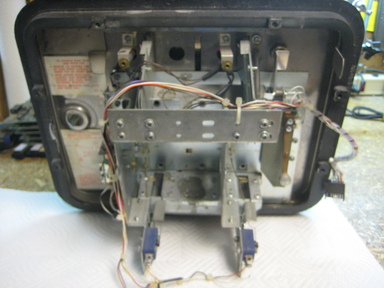 |
| Coin door, before, front and back. | |
 |
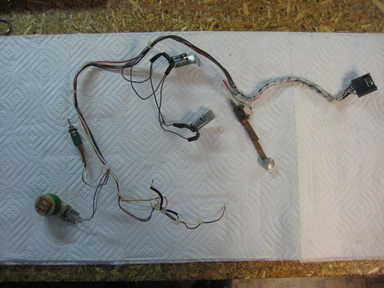 |
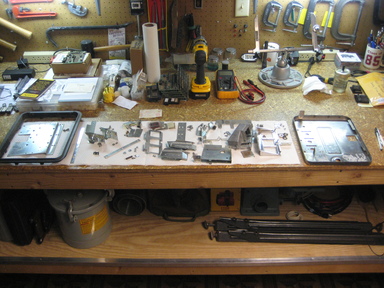
| Coin door parts, after cleaning. | Coin door wiring harness, cleaned. |
 |
 |
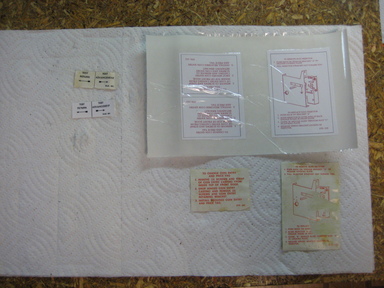
| New reproduction stickers for the door. | |
 |
 |
| Coin door, after, front and back. | |
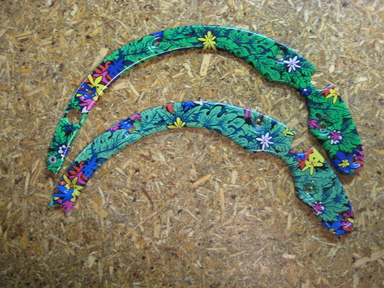
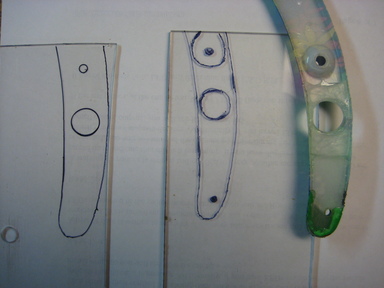
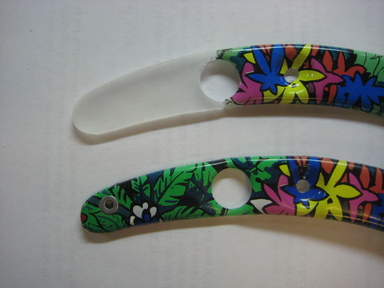
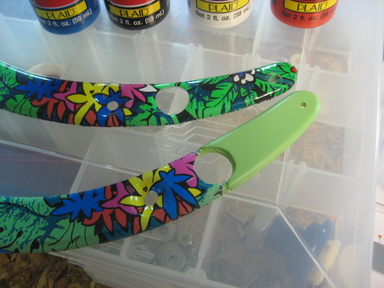
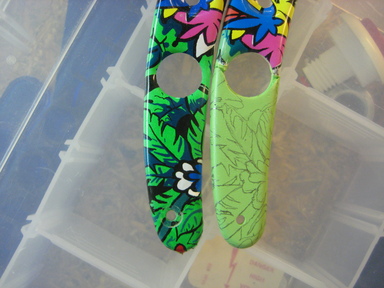
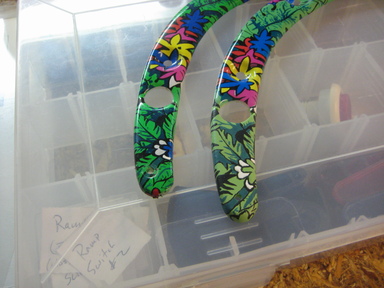
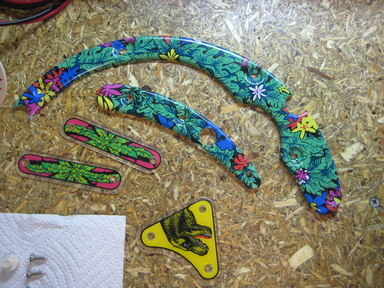
Here's where things get tricky. As with many Zaccaria games, Time Machine uses several vacuum formed plastics on the playfield. The two on the moving playfield are usually broken, and this game is no surprise that way. The one on the left side is broken and about three inches of it are missing. Repairing this required some ingenuity and artwork.
 |
 |
| On top, the plastic from my other Time Machine. Note the missing end on this one. | Closeup of the two plastics. The whole end of this one is gone. |
 |
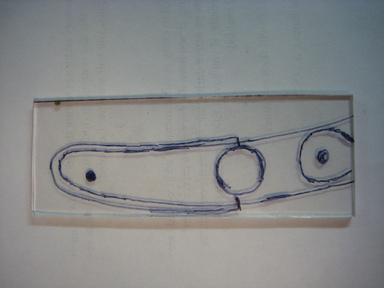 |
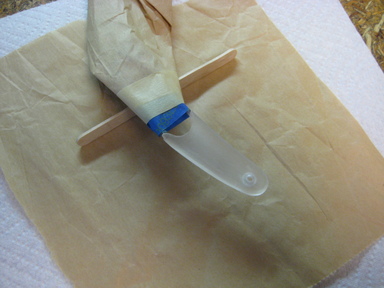
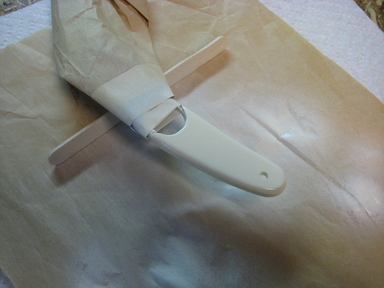
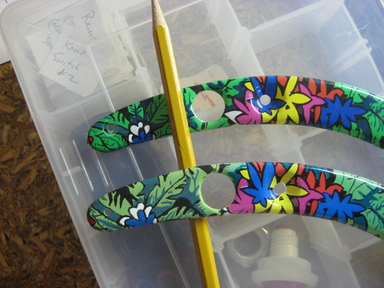
| I started by sketching out replacements with a Sharpie on some PETG plastic scrap, using my plastic as a guide. As you can see, mine was also damaged and the end repaired when I was restoring that game, but this one needs much more than mine did. | |
 |
 |
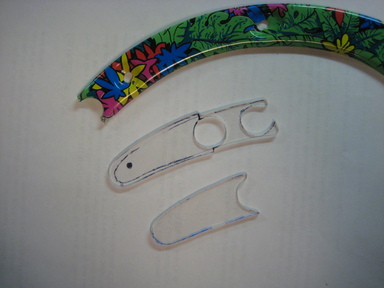
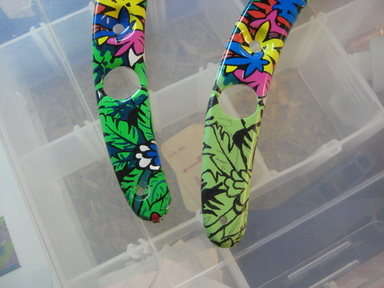
| I made a two layer sandwich from PETG. The lower layer is cut to fit inside the original plastic and provides a mounting location with some strength. The upper layer will match the original external contour. | |
 |
 |
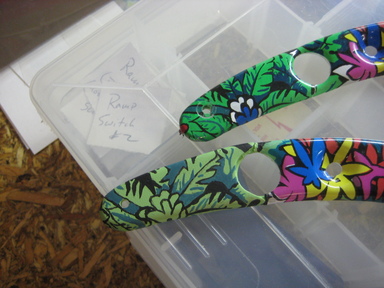
| After a bunch of sanding, the PETG patch now matches the shape of the original plastic. | How it will fit on the game, with the mounting hole for the post screw drilled and countersunk so that it sits correctly in position. |
 |
 |
| Prep for paint. I've taped off the good original artwork, and propped it up on my bench so that the edges and top can be painted. | The first coat I put down is white, to help the underlying green "pop" a bit more than it would if there wasn't white under it. |
 |
 |
| Airbrushed the green background for the rest of the artwork. There seems to be significant variation in the colours between these two games, whether from the original manufacture or from fading, I can't tell. I matched the green to the rest of the plastic. | I started by drawing in the black keylines with pencil. |
 |
 |
| The black keylines were hand painted first. | Then the dark green areas were filled in. |
 |
 |
| Then the white area. | Then the blue, red, and yellow areas. |
 |
|
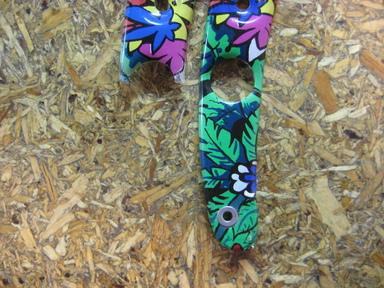
| Installed on the game, the repaired plastic is only visible if you know to look for it. | |
 |
 |
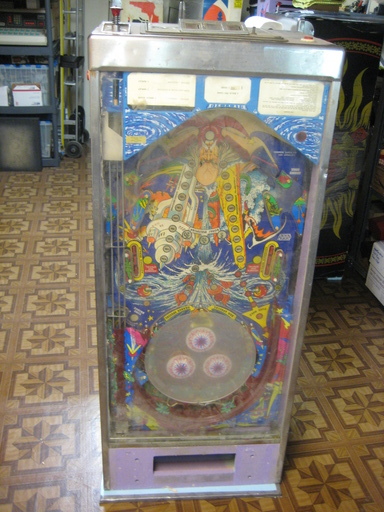
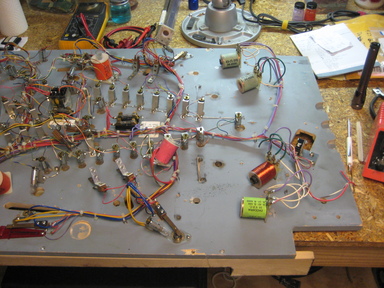
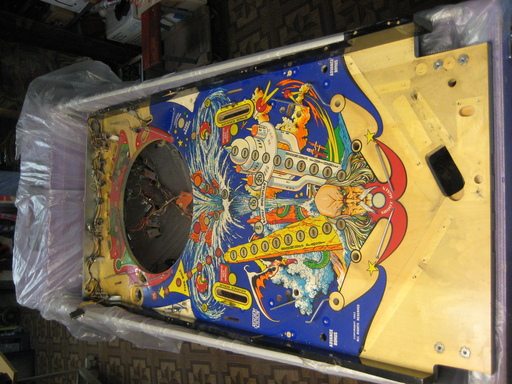
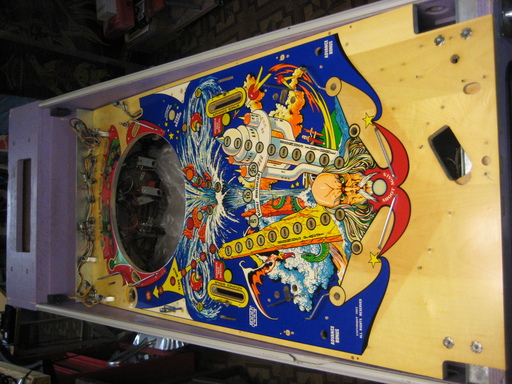
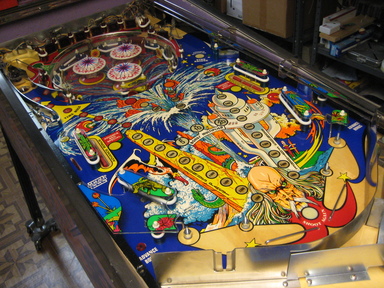
| Playfield, before teardown. It's in pretty good shape, under the dirt and grime of age. | Starting playfield teardown. |
 |
 |
| Playfield teardown in progress. Parts coming off. | |
 |
 |
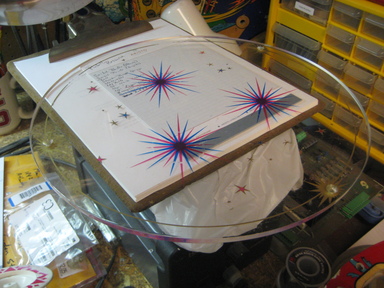
| There is some damage to the artwork on one of the pop bumpers. | More top side parts removed. |
 |
 |
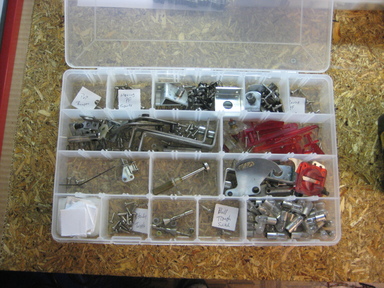
| Top side playfield parts removed. | Parts, sorted and organized for storage and cleaning. |
 |
 |
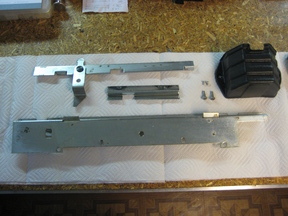
| Bottom side disassembly underway. Moving playfield assembly removed. | More parts being removed from the bottom side: flippers, drop targets, slingshots. |
 |
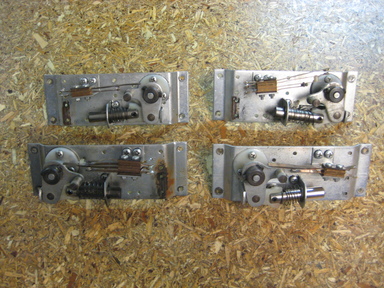 |
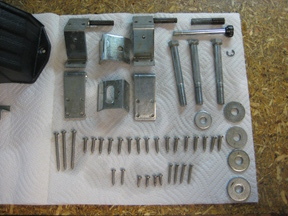
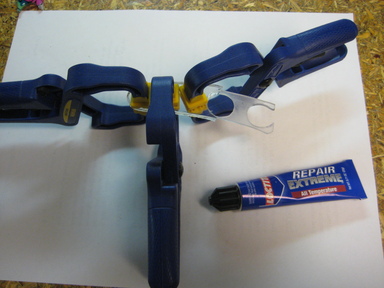
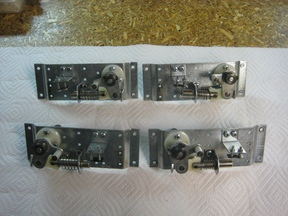
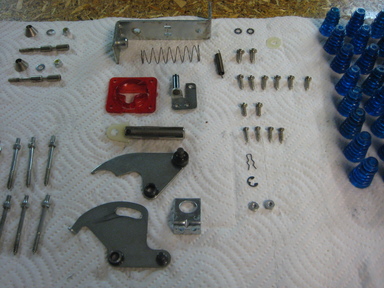
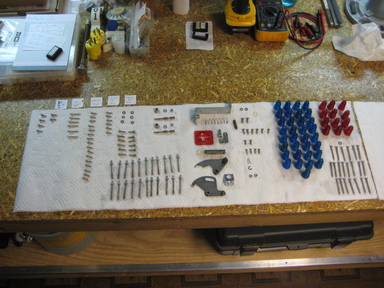
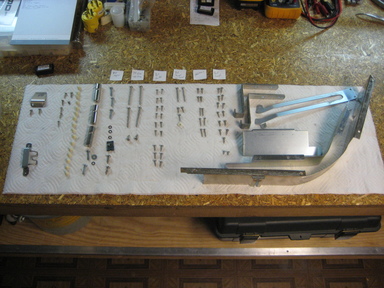
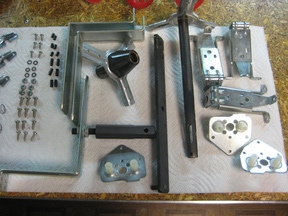
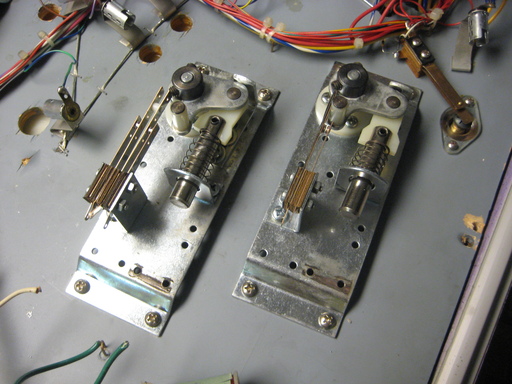
| Bottom side parts, sorted and organized for storage and cleaning. | Flipper mechanisms. |
 |
 |
| A fun surprise: one flipper mechanism is missing the correct (4mm) machine screws mounting the bushing to the bottom plate. Instead, there are some big ugly wood screws jammed in the holes. | Flipper mechanisms blown apart for cleaning. |
 |
 |
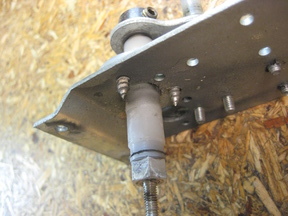
| Flipper mechanims, clean and reassembled. | The wood screws destroyed the threads, so correct 4mm machine screws, backed by nuts and lockwashers were used instead. |
 |
 |
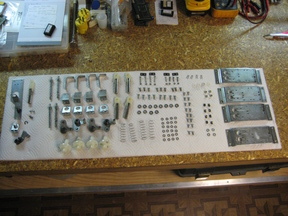
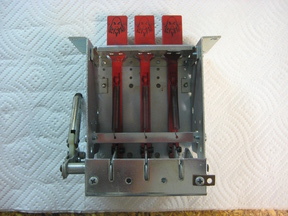
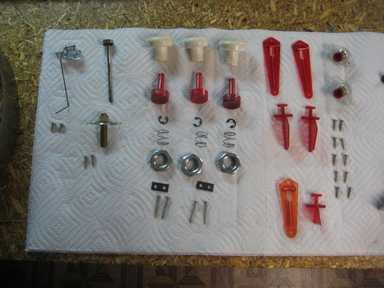
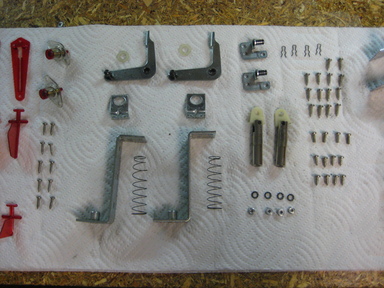
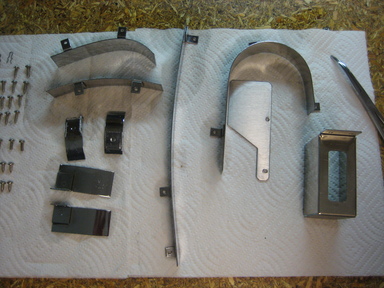
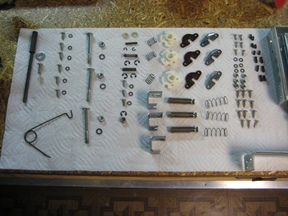
| Left and Right Drop target mechanisms. | |
 |
 |
| Drop target mechanisms being cleaned. | Drop target mechaniams parts after cleaning. |
 |
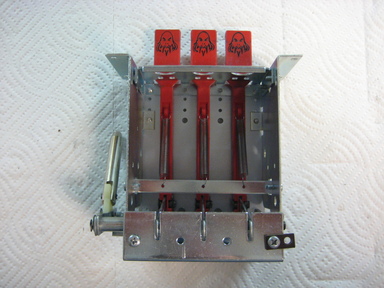 |
| Left and Right Drop target mechanisms after cleaning and reassembly. | |
 |
 |
 |
 |
 |
 |
 |
 |
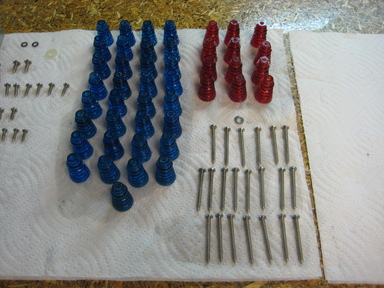
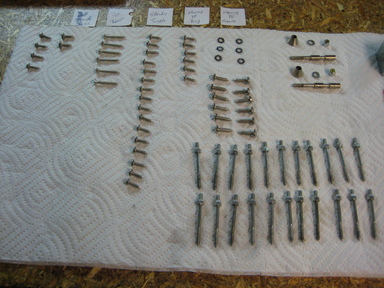
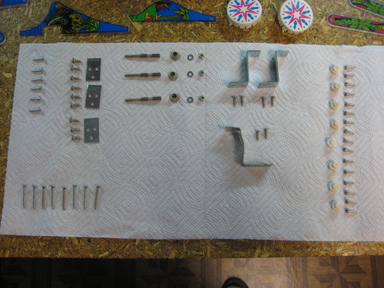
| Playfield parts being cleaned. | |
 |
 |
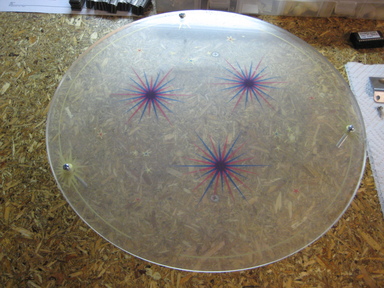
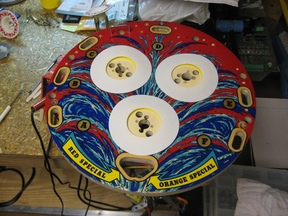
| The "clear" plastic top to the moving playfield. Needs cleaning. | Starting to disassemble the moving playfield for cleaning. |
 |
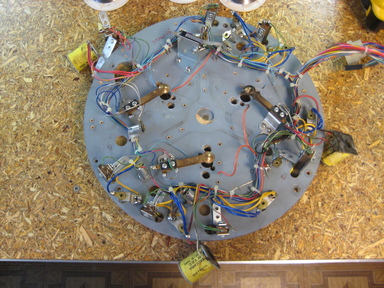 |
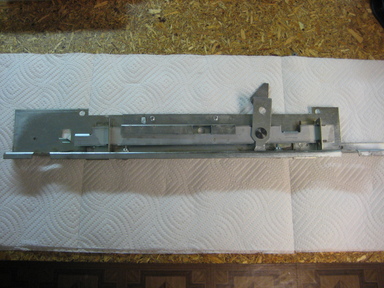
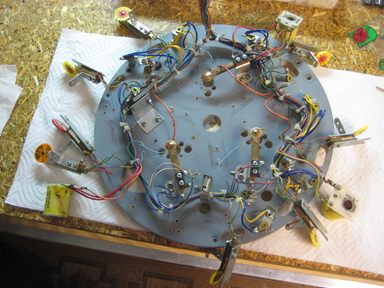
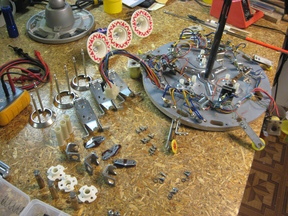
| Moving playfield mechanism disassembly. | Most parts removed from the moving playfield. |
 |
 |
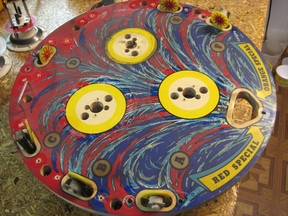
| Top side of the moving playfield. | Closeup of the playfield surface showing the grime. No Mylar protector on this one, |
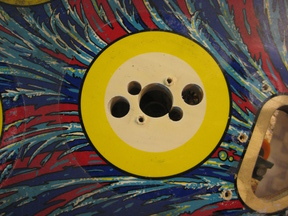 |
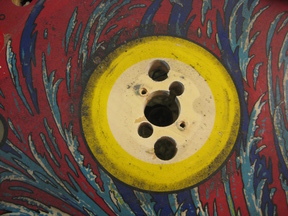
 |
| Closeup of the playfield surface around the pop bumper that had a Mylar protector. | Pop bumper bodies from the moving playfield. Two are ok. One has artwork damage, probably from a cleaner of some sort. |
 |
 |
| Moving playfield parts being cleaned. | |
 |
 |
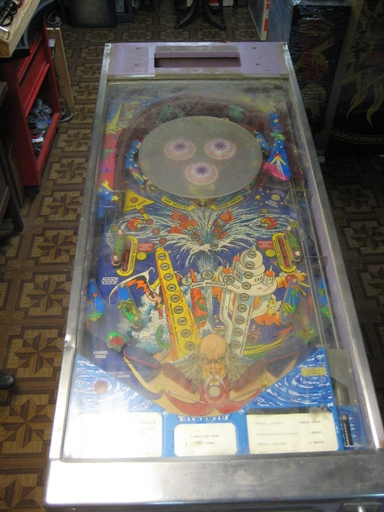
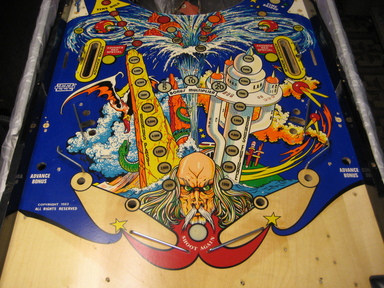
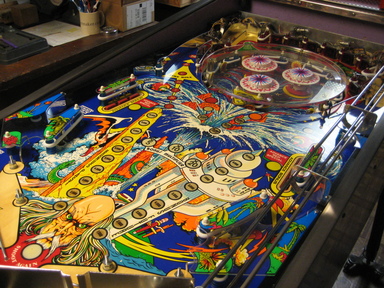
| Main playfield before cleaning. | Left side of playfield, after cleaning. |
 |
 |
| Upper main playfield after cleaning. | Lower main playfield after cleaning. |
 |
 |
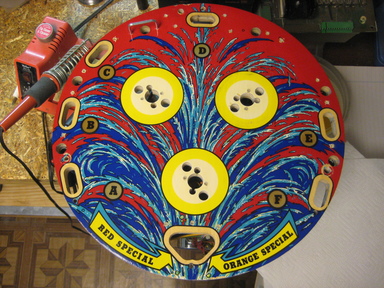
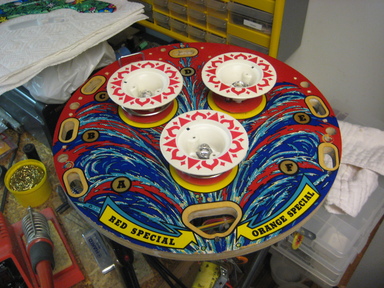
| Moving playfield after cleaning. | Moving playfield top after cleaning. |
 |
 |
| Playfield plastics, clean. | Moving playfield parts after cleaning. |
 |
 |
| Moving playfield parts after cleaning. | Bottom side of moving playfield beginning reassembly. |
 |
 |
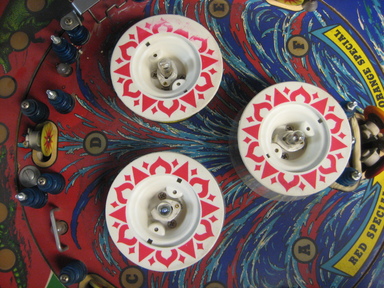
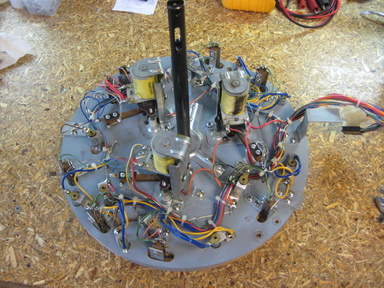
| Pop bumper Mylar protector rings being installed. | Bottom side of moving playfield and parts, beginning reassembly. |
 |
 |
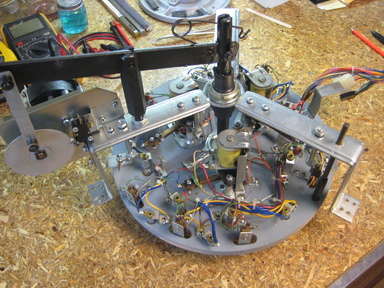
| Top side of moving playfield, pop bumpers reinstalled with new lamp sockets. The damaged body has been replaced by one I had in my spare parts bins. | Bottom side of moving playfield, reassembled. |
 |
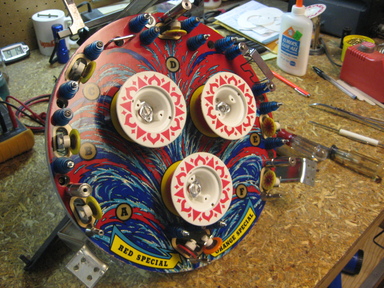 |
| Top side of moving playfield, reassembled. | |
 |
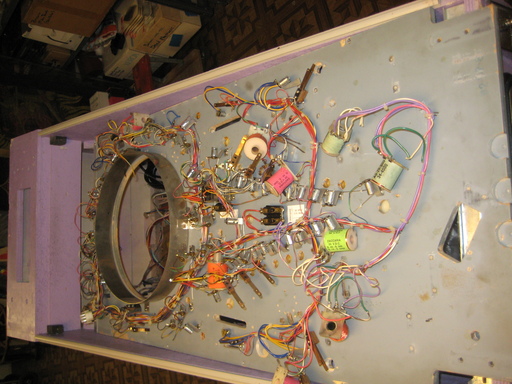 |
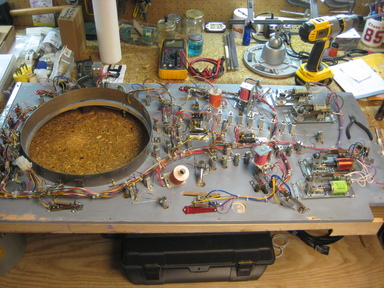
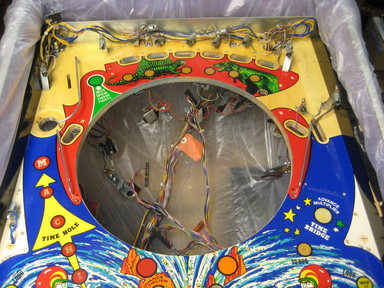
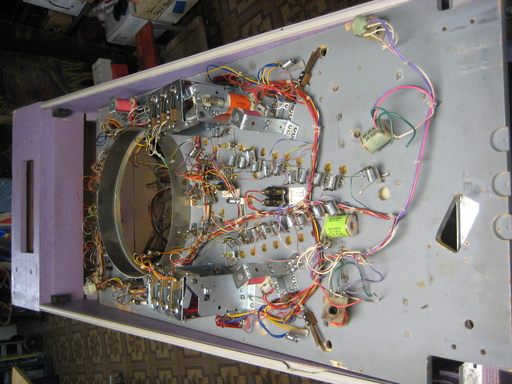
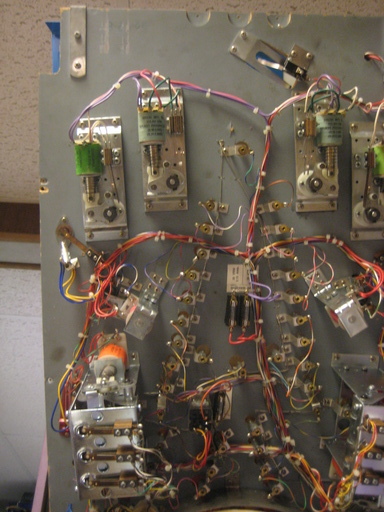
| Top side of playfield, ready for reassembly. | Bottom side of playfield. |
 |
 |
| Ball saucer kicker. | Drop target banks. |
 |
 |
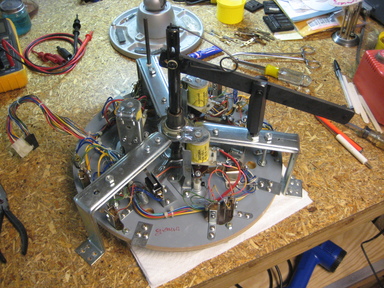
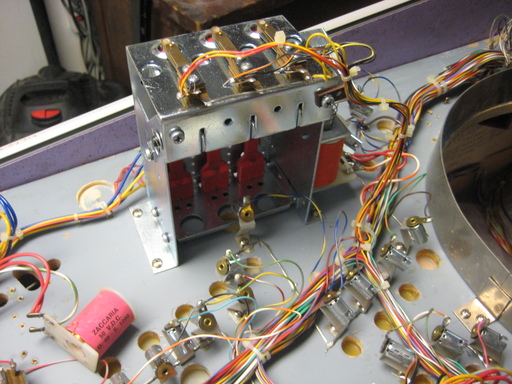
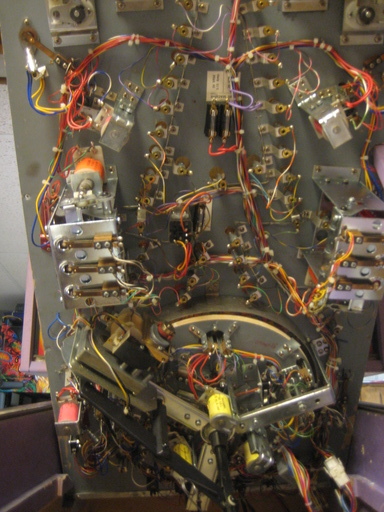
| Bottom side starting to be built back up. | Flipper mechs. |
 |
 |
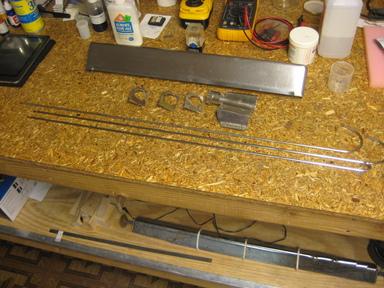
| Metal parts and ball launch habitrail. | Remounting the ball launch habitrail. |
 |
 |
| Outhole parts. | Top side mostly reassembled. |
 |
 |
| Top side mostly reassembled. | Apron and shooter gauge reinstalled. |
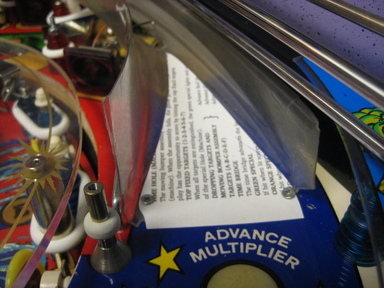 |
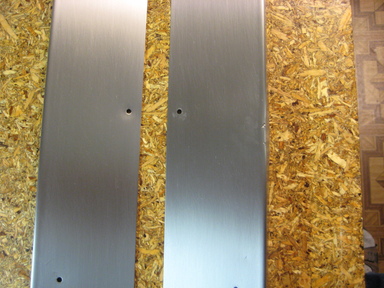
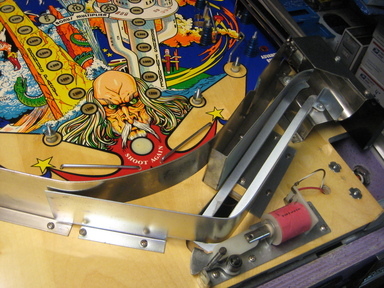
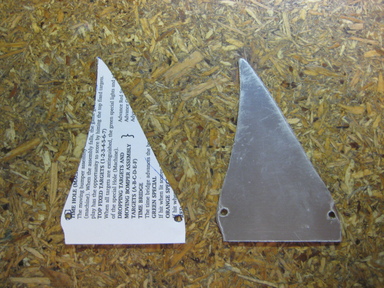 |
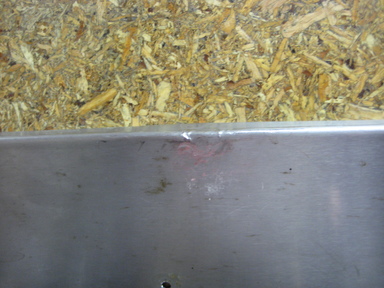
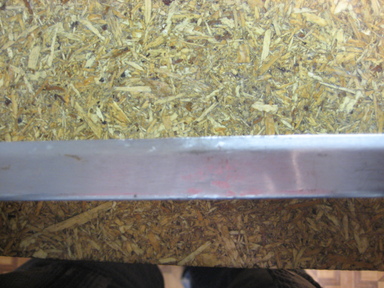
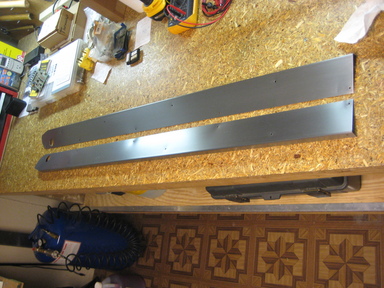
| Making a ramp entrance protector, starting with some cardstock as a pattern. | Cardstock pattern, and stainless steel ramp entrance protector being cut to match. |
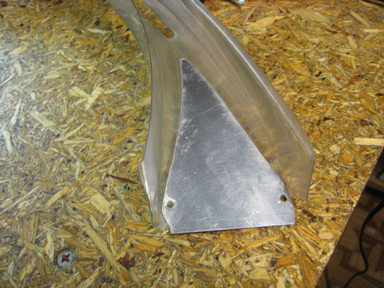 |
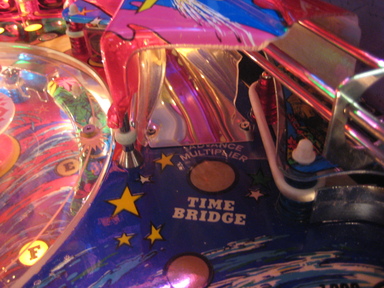 |
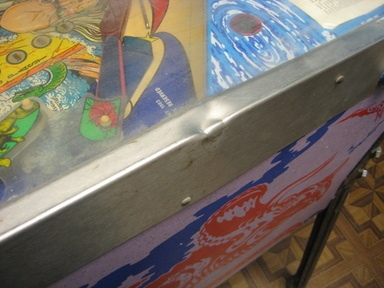
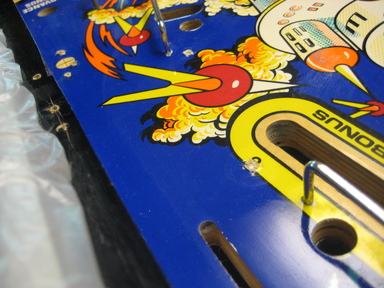
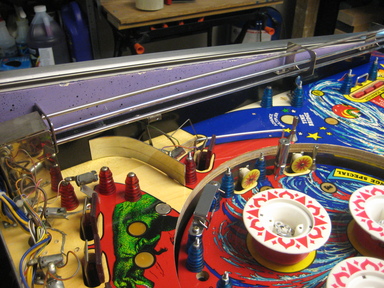
| Test fitting the protector to the ramp. | Ramp entrance protector installed. This also makes the playfield to ramp transition smoother, for a better ramp shot. |
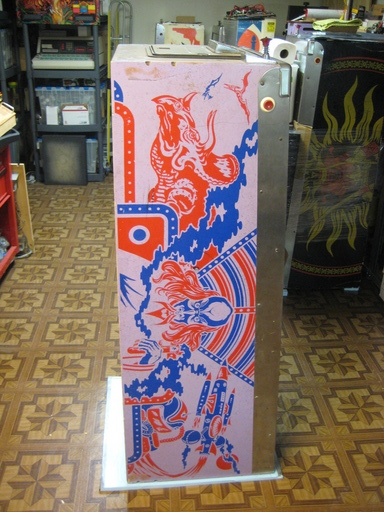
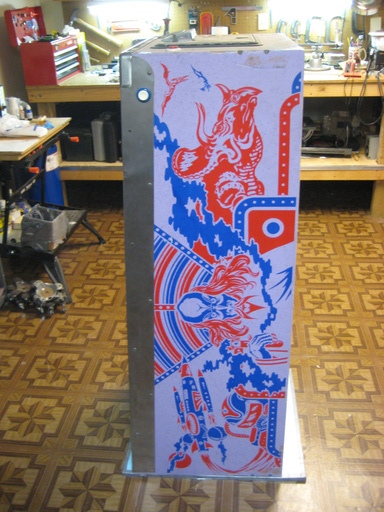
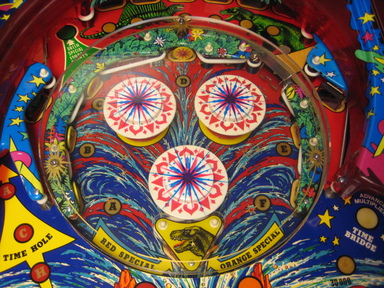
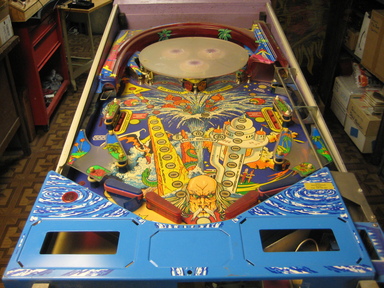
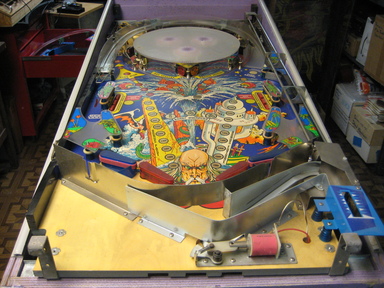
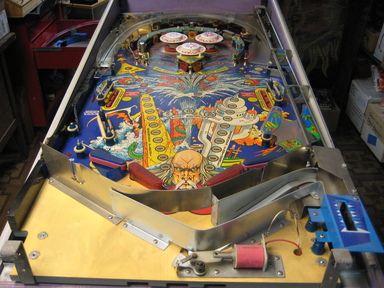
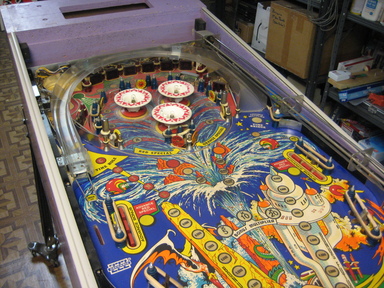
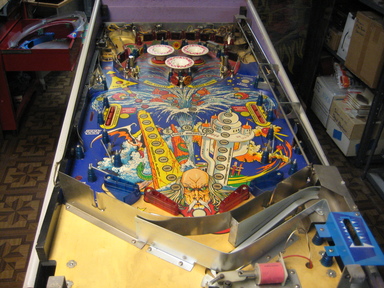
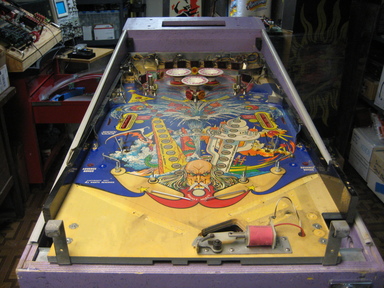
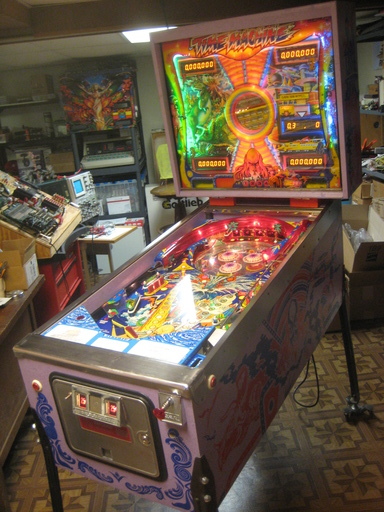
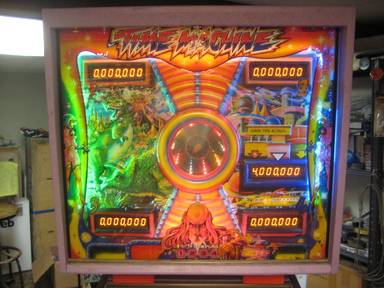
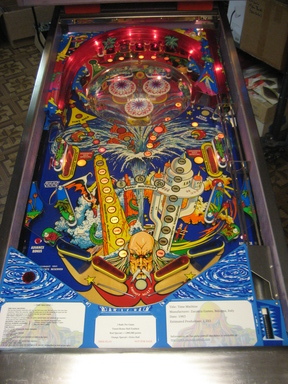
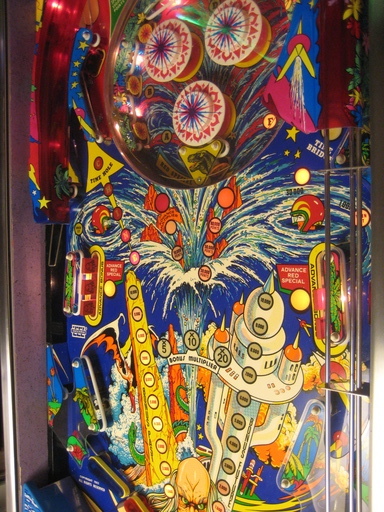
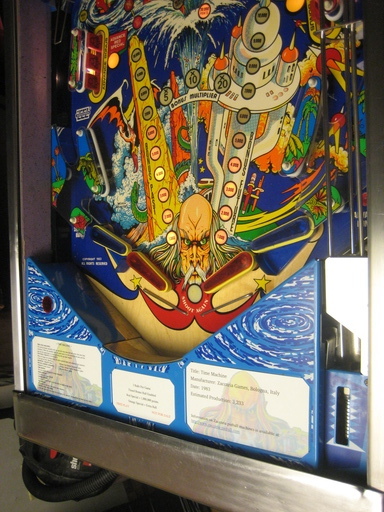
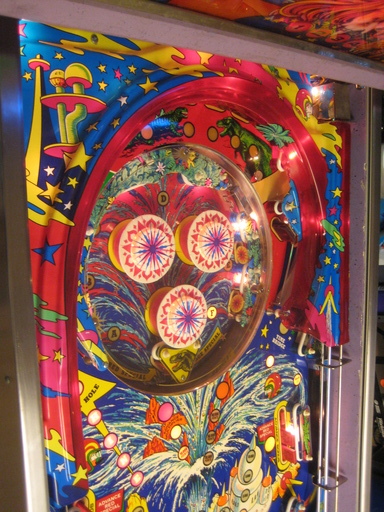
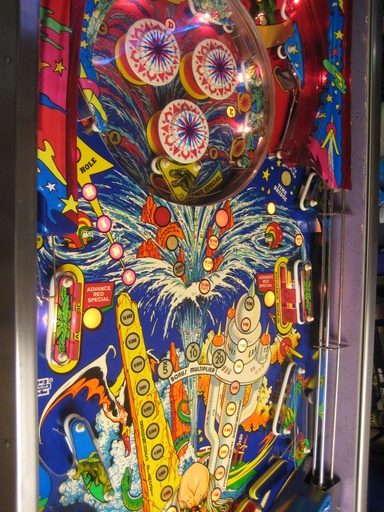
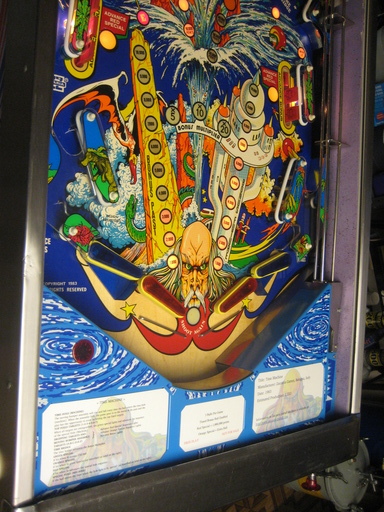
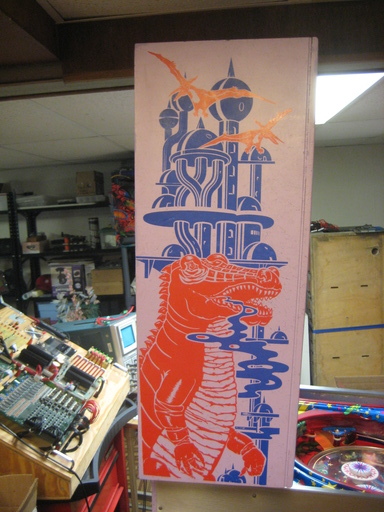
Some "after" pictures.
 |
 |
 |
 |
 |
 |
 |
 |
 |
 |
 |
 |
 |
 |
 |
 |
 |
 |
After restoration, this Zaccaria Time Machine is now for sale.