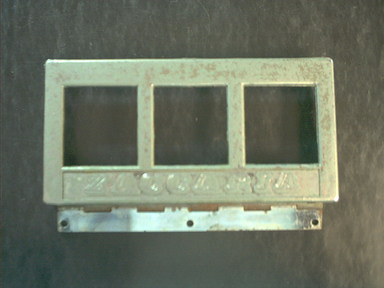
Zaccaria coin door bezels are "chrome" plated plastic pieces. The "chrome" surface isn't really chrome, it is actually vacuum plated vaporized aluminum with a clear protective coat over it. This is often damaged (scratched, etc.), deteriorated with time, or worse now that these games are 20+ years old. In some cases, I have games that came without the coin entrance bezel, and some that are badly broken.
Since I cannot just run down to my local Zaccaria store and pick up a box of new ones, I decided to research and test the restoration of a couple of example bezels. Here are the pictures to document the process, and how it turned out.
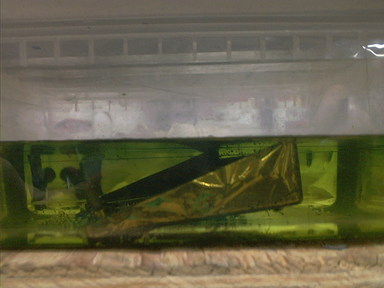
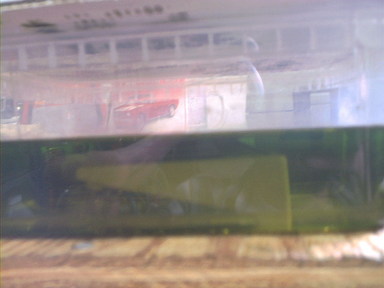
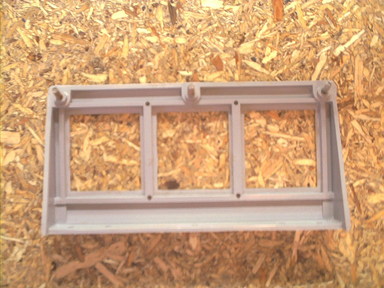
First, our candidates are two bezels. One is in not-too-bad condition that I picked up on eBay relatively inexpensively. The plating is pitted, and the whole piece is turning a greenish colour for some reason. But at least it is not broken.
The second is in much worse shape. It is broken, in two pieces. The breaks are not clean, there is a chunk missing from the bottom, and the plating is badly deteriorated.
I talked to Bob @ Chrome Tech USA in Wisconsin to see what my options were for attempting to restore these pieces. He told me that there are two ways to plate plastic, and that depending on the process used, the plating will either scrape off easily (not likely, given the intended use for these), or will need to be chemically stripped before anything else can be done. Without seeing the pieces in person, and without them having been stripped down to bare plastic already, he was not willing to guess what results he might get trying to plate them. But, he was willing to have a look at the stripped parts and to give it a try.
He did not have high hopes for the broken one, having tried to repair pieces before. The problem is that the highly reflective chromed finish surface shows even the smallest detail and all of the most insignificant flaws in the surface appear huge. But he was willing to attempt to chrome whatever I was willing to send him, and we'd just have to see how they would turn out. Overall, an honest, if slightly pessimistic answer.
The process he uses involves a rotating tumbler and applying an underlying "paint" to the surface, a vacuum chamber to plate the part with an aerosol of aluminum, heat to set the plating, and a clear topcoat to protect it.
I got directions from Bob on how he wanted the parts stripped, and where to mail them to. With an admonision to only strip the parts outside, I went off to see what I could do.
| Important: The gas released by the stripping process is really bad. DO THIS OUTSIDE. DO NOT DO THIS IN THE HOUSE. NOT EVEN IN THE GARAGE. |
| Bezel #1 | ||
|
|
|
| Before | Drill out the rivets | Remove the hinge |
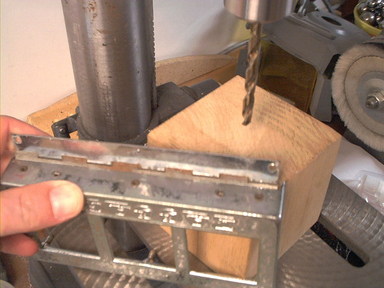
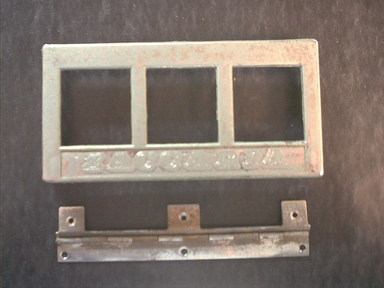
First, the steel hinge must be removed from the plastic bezel. Drill out the rivets holding it in place. Remove the hinge.
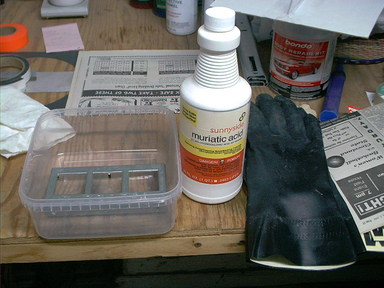
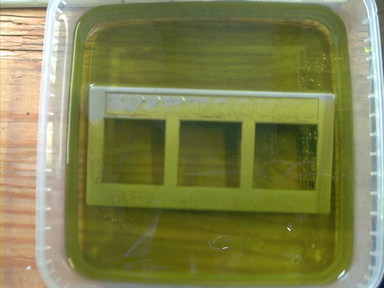
Once the metal has been removed, the plastic part can be stripped of the old plating by soaking it in Muriatic Acid for a couple of days to disolve plating. This will not hurt the plastic, but it does release a very strong smelling gas (chlorine?). Do not do this next step in the house, or even in the garage. Use a plastic container to soak the part in, preferably one with a lid.
| Bezel #1 | ||
 |
 |
 |
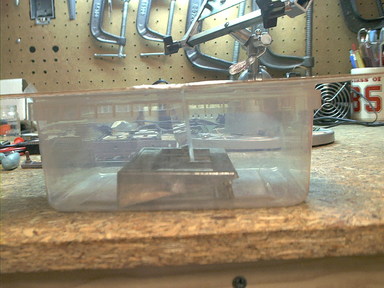
| Prepare the container to soak it in | The cardboard lid has a Lexan piece attached with packing tape to keep the bezel being stripped from floating | The acid bath, ready to go. Note the gloves |
Wearing chemical resistant gloves, put the bezel in the plastic pan, then pour on the Muriatic Acid. Do this outside, preferably on a windy day. One whiff and you will understand why.
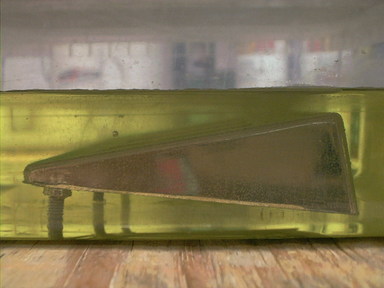
As you can see in the next three pictures, the acid goes to work disolving the old plating. The first picture shows the gas bubbling out of the acid solution. The cover over it keeps this from getting too hard to work around, but there is still a very strong odor to it. It takes about 36-48 hours to strip the part. Be patient.
| Bezel #1 | ||
 |
 |
 |
| The cloudiness in the solution is bubbles of gas (chlorine?) being released | The cover is on, and being weighted down, to keep the bezel from floating | Some of the plating is coming loose |
| Bezel #1 | ||
 |
 |
 |
| The plating is now fully disolved, exposing the raw plastic underneath | The piece is now stripped | Remove the bezel from the acid bath. Note the gloves! |
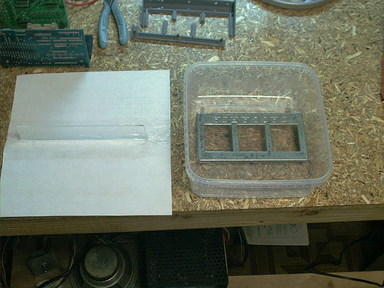
Remove the piece from the acid bath, and rinse well with regular water.
| Bezel #1 | |
 |
 |
| Front and back. Stripped and ready to mail. | |
Bob told me that he had tried repairing broken and damaged pieces before, and that it had never worked well for him because the finish shows the repairs. But, with a broken bezel, I didn't think I had much to lose by trying. I stripped bezel #2 the same way as bezel #1, then repaired it.
| Bezel #2 | ||
 |
 |
 |
| Gluing the bezel back togeter | After the glue set | Repairing the missing chunk |
After gluing the two pieces back together, I built a patch piece to fill in the chunk missing from the bottom out of stryrene left over from my model railroading days. I then used Squadron Green plastic putty to fill in the places where there was plastic missing from the repaired areas. After this hardens, it can be sanded, shaped, and smoothed just like plastic.
| Bezel #2 | ||
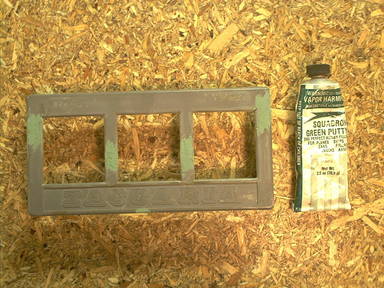 |
 |
 |
| Squadron Green plastic model putty | Filling in the damaged areas | |
I dry sanded the putty with 800 grit, then stepped up through wet sanding the whole bezel (800/1000/2000) before polishing the plastic with Novus #2. I then used cyanocrylate ("Super Glue") over the Squadron Green putty areas, and wet sanded and polished out these areas with Novus #2 as well. Essentially treating this as a clearcoat repair on a playfield, I am hoping that the final surface will be invisible after being plated.
| Bezel #2 | ||
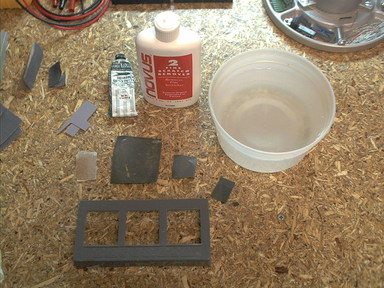 |
 |
 |
| Sandpaper and Novus #2 | The final results after wet sanding and polishing | |
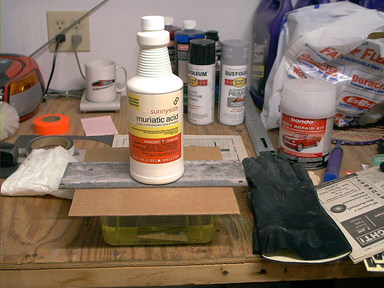
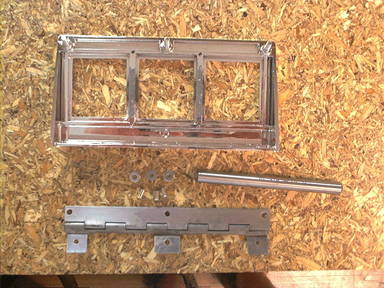
Both bezels were packed and mailed off to Bob with a deposit...
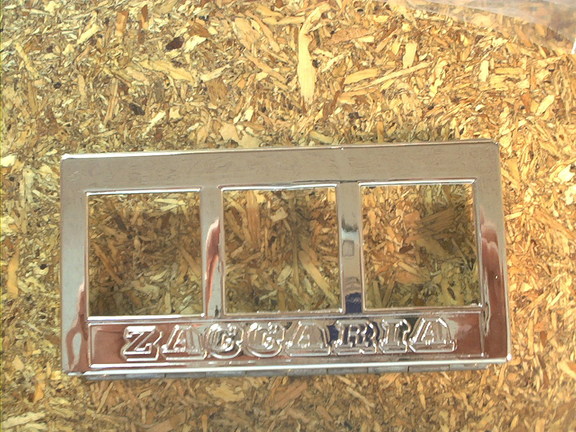
...and they came back chromed. It's hard to take a picture of a chromed shiney surface, but the results are very nice looking pieces now.
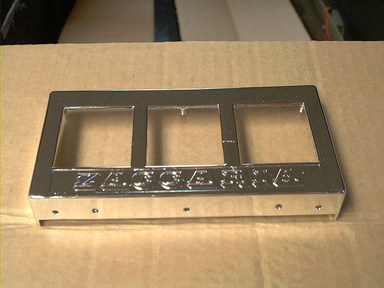
| Bezel #1 | |
 |
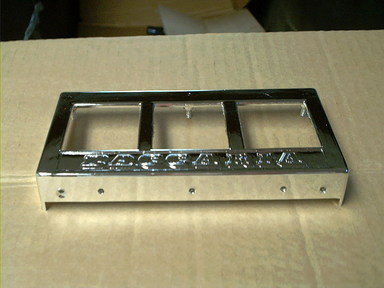 |
| Front | Bottom |
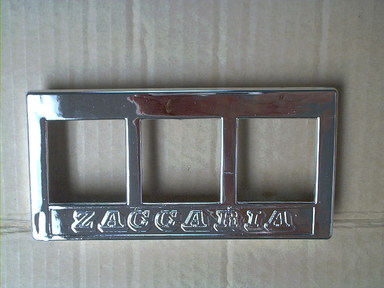
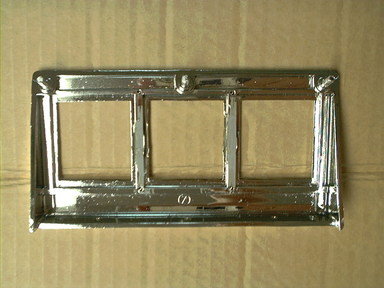 |
 |
| Back | Front |
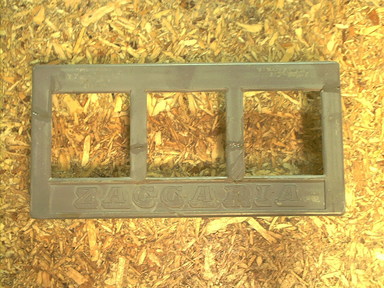
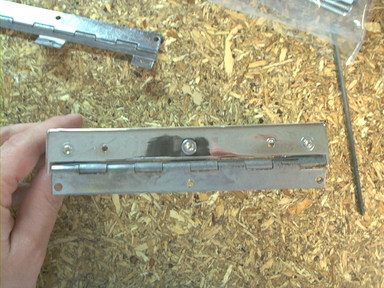
This bezel was in pretty good shape to begin with, and came back looking very nice. It cannot be seen in the pictures, but there are a few surface imperfections (scratches) in the plastic that are now visible, but it still looks a lot nicer than it did before.
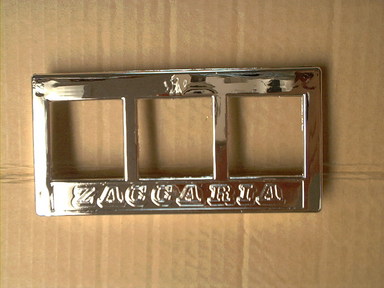
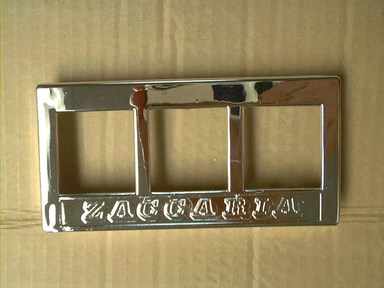
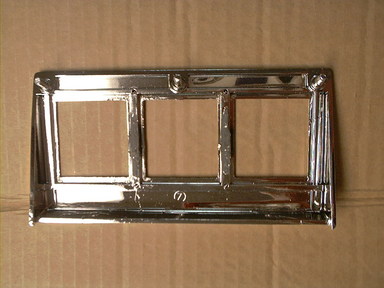
| Bezel #2 | |
 |
 |
| Front | Bottom |
 |
 |
| Back | Front |
Since this bezel was broken, I had nothing to lose, and it turned out pretty good, but not perfect. You can see in the pictures that the places where it was broken are now visible imperfections in the surface. There are visible lines where the broken pieces were glued back together, and where the missing chunk was replaced. It also appears that the filler I used didn't adhere well enough to the plastic surface underneath, as the two large cracks in the middle are no longer filled. Talking to Bob about it, he was not sure which part of the process may have done that, but it was what he expected to happen, so he wasn't surprised by it.
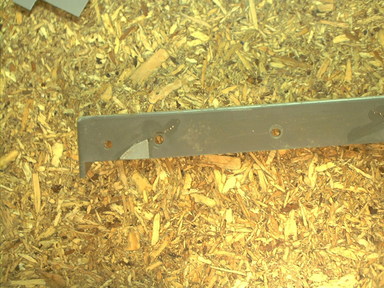
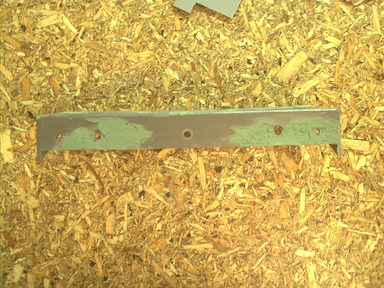
Cleaning up the metal hinge with Lightning Rust Remover.
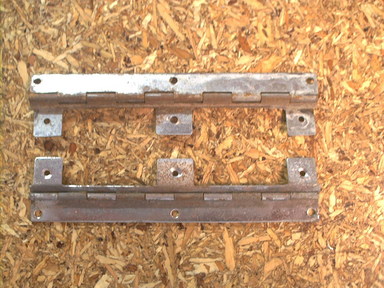 |
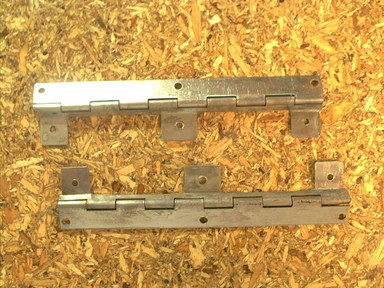 |
| Before | After |
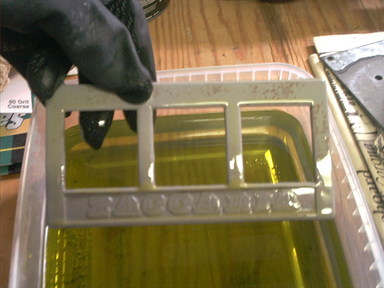
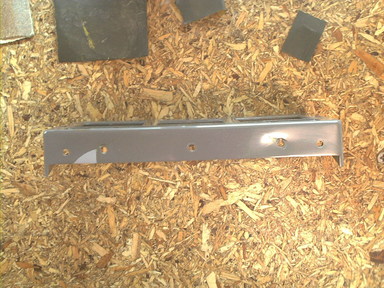
Reinstalling the hinge on the bezel with rivets.
 |
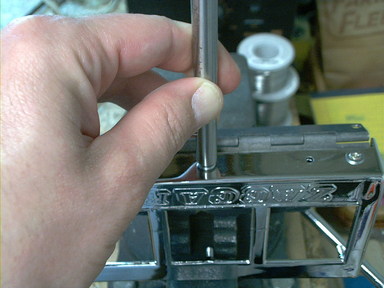 |
| Hanson Rivets and Washers. | Installing the rivets. |
 |
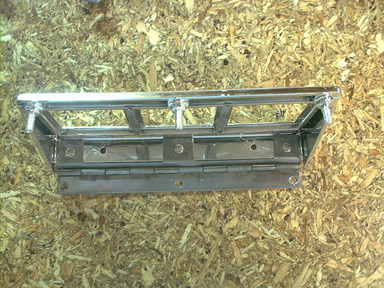 |
| Rivets installed - bottom view. | Top view. |
I used three nickle plated brass rivets and washers from Hanson Rivet and Supply Company to reattach the cleaned up hinge to the rechromed plastic bezel.
 |
 |
| Front | Back |
Overall, I'm happy with the results. Since these parts are not available anywhere, these look a lot nicer now than they did when I started, and now two more games will have nice looking coin doors.