Required:
Suggested:
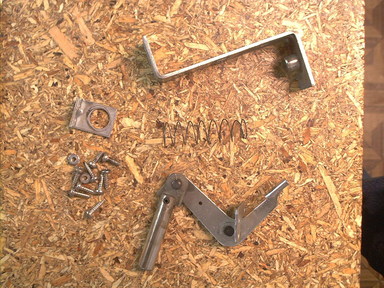
Parts:
One of the simpler mechanical rebuilds on a pinball machine, a good starting point if you're not familiar with this sort of work, and a good starting point for writing some "how-to" guides as an experiment.
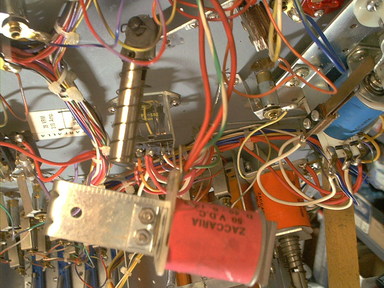
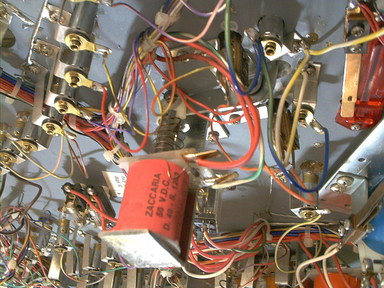
| Starting point - rebuilding a slinghot mechanism. |
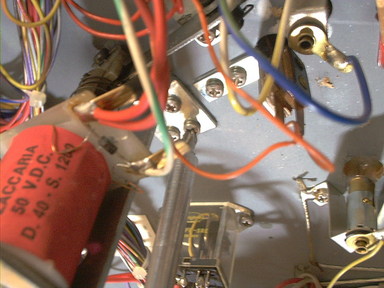
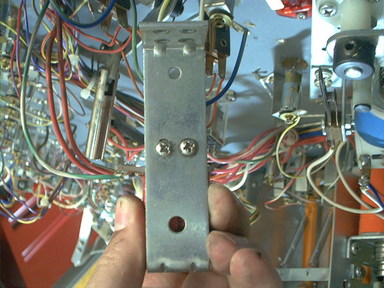
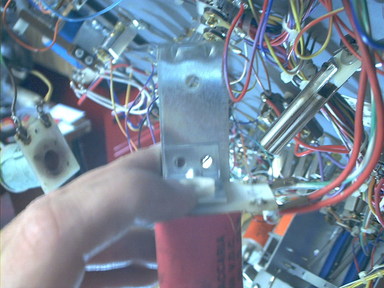
| Mounting screws for solenoid bracket. |
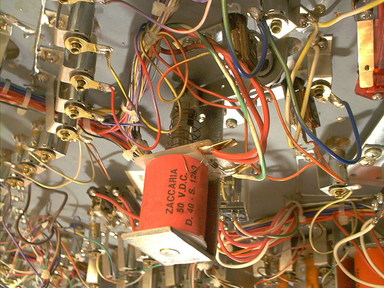
| Remove the four screws (Fig. 2) holding the solenoid bracket to the underside of the playfield. |
| Allow the solenoid and bracket to drop free. Remove the coil spring and put it in the Bucket Of Parts (BOP). I use a small plastic tub that came filled with birdseed or some such stuff; it's about a gallon capacity, and big enough to hold most playfield mechanism parts. |
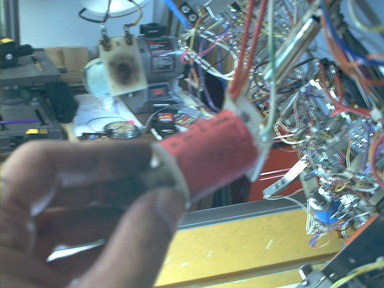
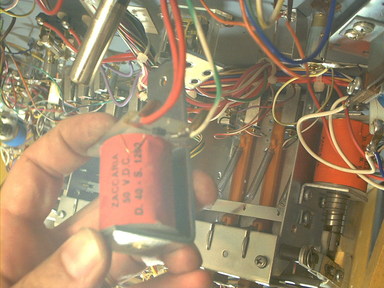
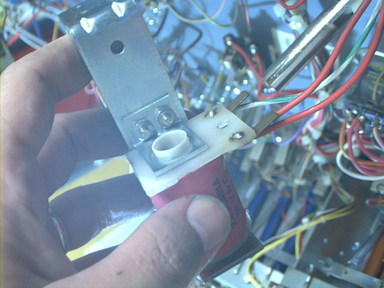
 | Hold the solenoid and bracket in one hand... |
 | ...and remove the two screws that attach the solenoid coil to the bracket. This should free the solenoid from the bracket. Put the screws, the bracket, and the tab that holds the solenoid in place in the BOP. |
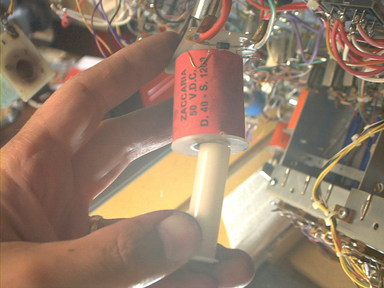
 | Remove the sleeve (could be Nylon, aluminum, or brass) from the solenoid coil and discard it. Let the solenoid coil hang from the wiring harness. |
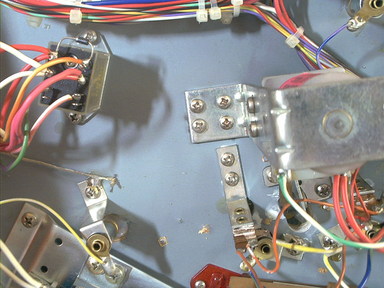
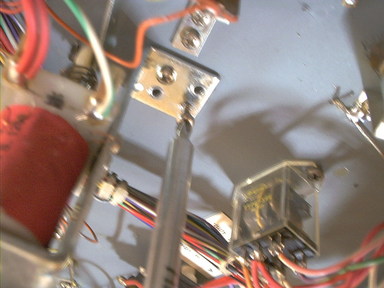
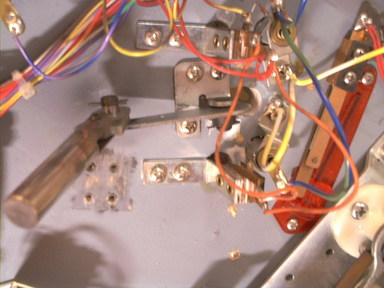 | Mounting screws for the crank bracket. |
 | Now remove the three screws that attach the crank arm to the underside of the playfield. |
 | The crank arm, bracket, and plunger and link will drop free. Add the screws, brackets, and spring to the BOP. |
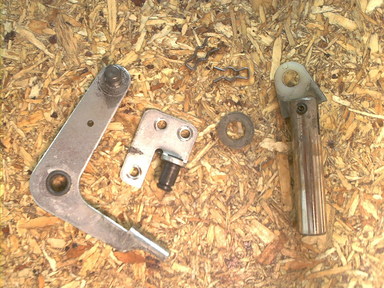
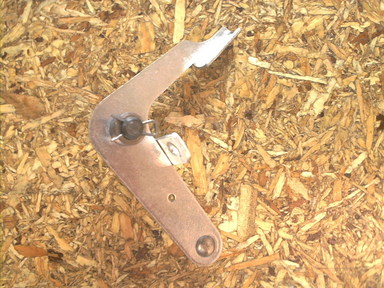
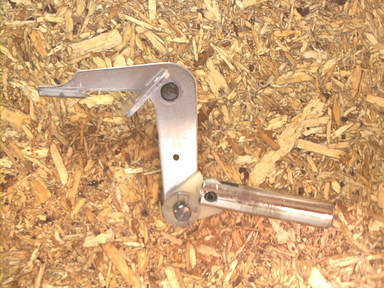
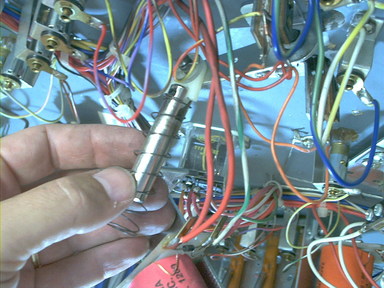
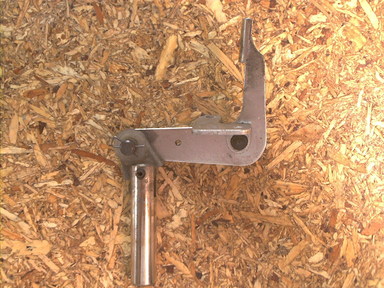 | Crank arm, prior to dissassembly. |
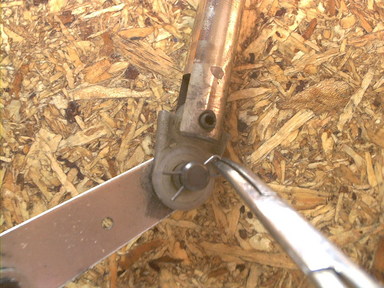 | Remove the cotter pin that holds the plunger and link to the crank arm. The plastic washer is often missing, and isn't really all that important, but try not to lose it if it's there. |
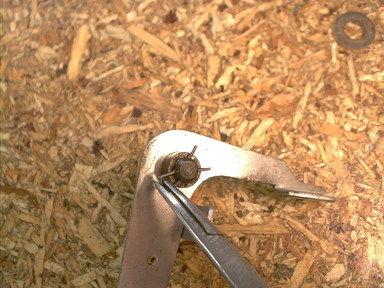 | Remove the cotter pin that holds the crank arm to the hinge. |
 | Toss the cotter pins, the crank arm, the bracket, and the plunger and link in to the BOP. |
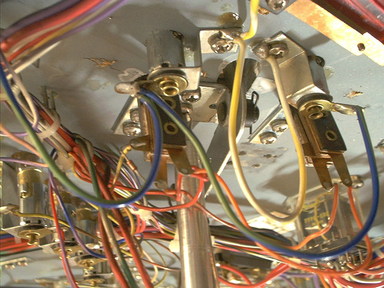
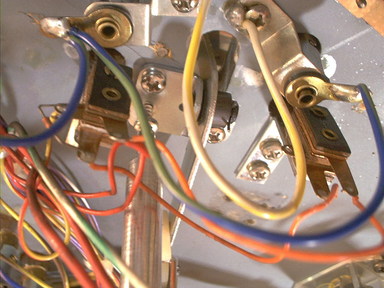
Remove the four screws that hold the two leaf switches that stick up through the playfield. Toss the screws in the BOP. Pull the switches down through the playfield and let them hang from the wiring harness. This allows you to polish the top side of the playfield without running in to these switch blades, tearing up your hands and bending the blades.
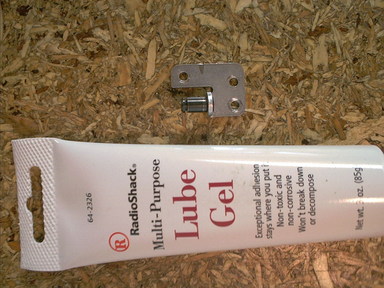
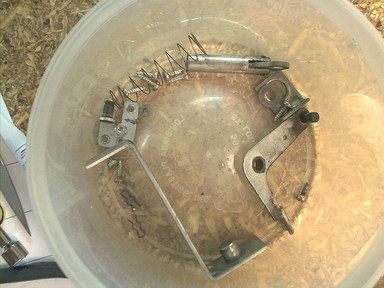 | Now, clean everything in the Bucket Of Parts. I like Castrol SuperClean for this (WEAR GLOVES!). Mean Green is almost as good. Attack any stubborn spots with an old toothbrush. Both are very caustic cleaners that quickly remove any old grease, gunk, dirt, or accumulated crap. Both will eat your skin, so wear gloves. Rinse and dry the parts. To ensure that no residual water causes me any trouble, I dip everything in isopropyl alcohol at this point. |
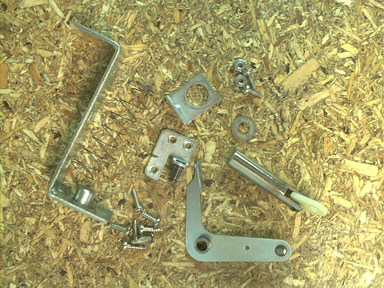 | You should now have a nice pile of clean parts. |
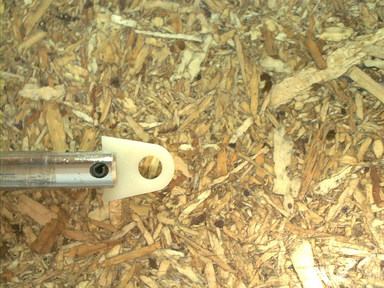 | Check the plunger and link for wear, especially the hole where the roll pin holds the link attached to the plunger. A little wear here is ok, but if the hole is egg-shaped your action will suck as much of the force of the mechanism will be absorbed in taking up slack in the mech. |
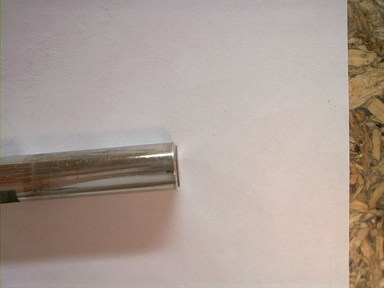 | Check the other end of the plunger for "mushrooming". |
 | The end should have a slight chamfer to the edge. If it's not chamfered any more, file a new chamfer to the edge of it. Check the coil stop as well, though usually the plunger mushrooms first. Check the hinge point of the crank as well to see that there isn't any wear there. |
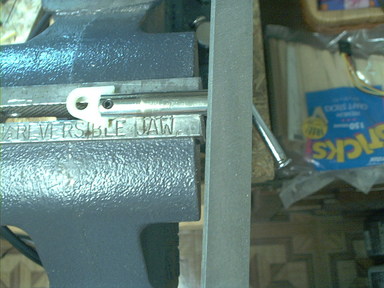
 | If all looks good, it's time to reassemble. Put the crank arm back on the bracket. Use a little bit of teflon grease on this, since it's a metal-to-metal contact that moves. |
 | You don't need much, just a thin film of grease on the pivot point will do. |
 | Wipe on just a thin film with a fingertip. If you can still wipe some off with your finger, there's too much on there. |
 | Put the crank arm back on the hinge, and reinstall the cotter pin that holds it together. |
 | Put the plunger and link, and the nylon washer back on the crank arm, and reinstall the cotter pin that holds them in place. |
Clean the switch contact points with a business card and a little bit of cleaner (SuperClean, etc.) if needed. If the blades are badly mangled, bend them to some semblence of straight again. You will have to adjust them once they are reinstalled and the slingshot rubbers are in place, so it is not important right now that the gap be checked or adjusted.
Assuming the playfield has been cleaned and polished...
Reinstall the switch blades and the four screws that hold them in place.
 | Reinstall the crank arm assembly and the three screws that hold it in place. |
 | Reassemble the solenoid coil to its bracket. Use a new Nylon coil sleeve. |
 | Two screws hold the tab in place. |
 | Make sure that the tab is holding the coil tight to the coil stop... |
 | ...and that it is flush with the end of the coil, not twisted off to one side. |
 | Put the coil spring back on the plunger. |
 | Put the coil and bracket in place. |
 | Reinstall the bracket to the playfield, using the four screws that hold it in place. |
Done. You've just rebuilt a slingshot. Now go do the other one.
David Gersic info@zaccaria-pinball.com
Copyright © 2007. All rights reserved.
This document may be freely distributed so long as the content is not modified.