Required:
Suggested:
Parts:
While not technically required on a home game, having a nice looking coin door on the front helps make the whole game look that much better.
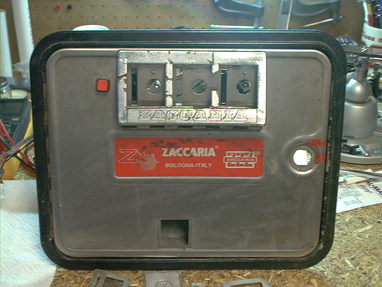
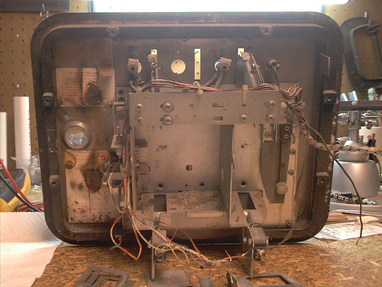
  | Starting point - rebuilding a coin door. The front isn't too bad looking, but the back has some interesting rewiring due to the installation of what was probably a credit switch where the coin return button should be. It's dirty. Some pieces were laying inside the cabinet when I got the game, and the entry bezel is broken. And I have no idea what happened to the two stickers on the inside of the door. |
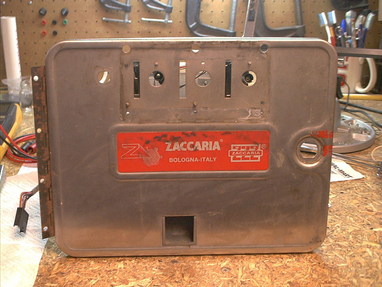 | Start by removing the coin entry bezel. There are (or should be) three nuts, three washers, and a metal bar that hold it closed from the inside (above the lamp sockets). Once those are removed, then the bezel swings down on its hinge, and the three screws that hold it to the front of the door can be removed. |
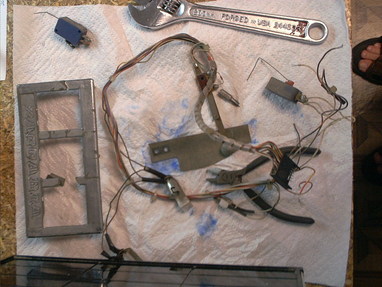 | Cut the wire zip ties that hold the wiring harness in place. Remove the two screws holding the lamp sockets. Remove the two screws holding the slam tilt switch. Remove the screw holding the white plastic clip. Remove the nut and lockwasher holding the Advance/Return switch in place. Remove the screws holding the coin switches. Lift the wiring harness off and out of the way. |
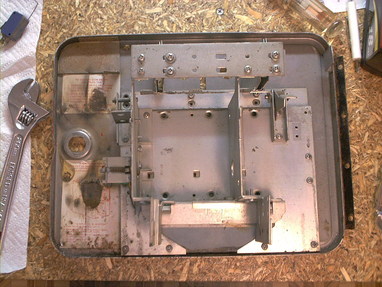 | Start removing parts from the back side of the door... |
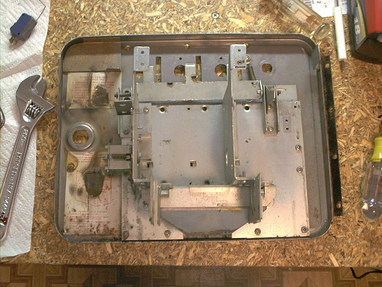 | ...the plate that holds the coin chutes, and the coin chutes. |
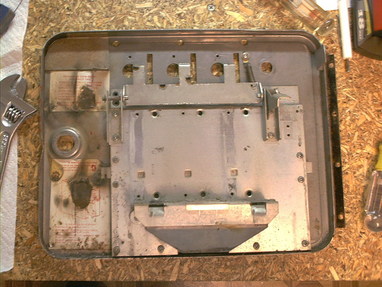 | ...the parts that hold the coin mechs in place. |
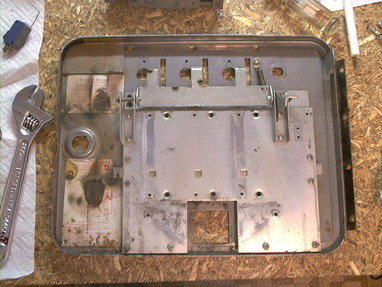 | ...the coin return. |
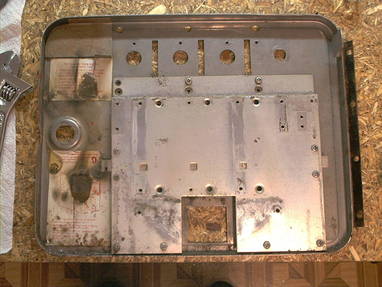 | ...the coin return mechanism parts. |
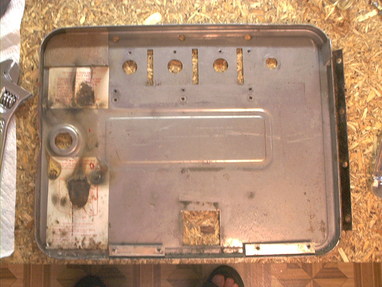 | ...and finally, the plate that all of the other parts attach to. |
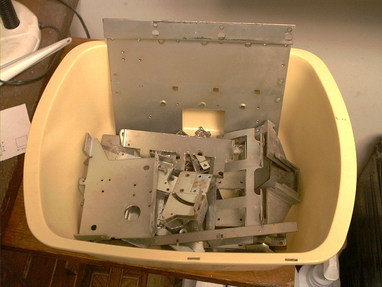 | And everything that will fit goes in the big Bucket O' Parts. Will Humpty Dumpty here ever be put back together again? Fortunately, there are only a couple of sizes of screws used on the coin door. Keep track of the exceptions, and where the washers go, and the rest is pretty easy to figure out. Take notes, or good digital pictures, as to what goes where. |
Off to the sink. I scrub all of the parts with SuperClean (WEAR GLOVES) and a toothbrush. Rinse with clear water. Dry the big parts. For the screws and other little parts, I dry them off as best I can, then dunk them in Rubbing Alcohol to remove any remaining water and prevent rusting.
For parts that are just dirty, the SuperClean is enough. For parts that are rusty or corroded, the initial cleaning is followed by a bath in Lightning Rust Remover following the manufacturer's directions.
Remove the plastic wrap that keeps the wiring harness from chafing on the coin door, and clean the wiring harness with more SuperClean and the toothbrush.
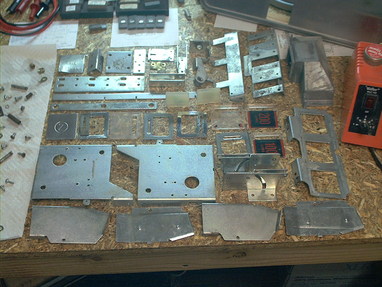 | Once everything has been washed, and dried, lay it out on the workbench to allow it to air dry and remove any remaining moisture. |
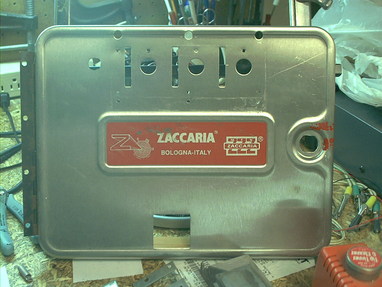 | This door has some red paint on it around the lock hole, and there is some kind of black stuff on the sticker on the front of the door. (Plug: If your door is missing the sticker, or it is badly damaged, I have reproduction stickers available.) I used some Goof Off paint remover to try to remove the red paint. That didn't work very well, so I stepped up to using Acetone, which took it right off. The Acetone also removed the gunk, whatever it was, from the sticker. I think it also removed the top little bit of the sticker itself. |
 | Here is the same door, after the Acetone removed the paint and gunk, and after being polished with the Meguiar's Metal Restorer polish to clean up the stainless steel. |
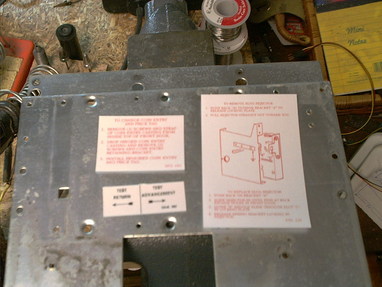 | The stickers on the inside of the door were damaged by something, and the SuperClean finished the job by removing the ink. I removed the remains, and made up these replacements with an HP inkjet printer on plain paper (artwork is available for this, see the reproductions section of the website). I used a Xyron 505 machine to put some adhesive on the back side, and laminated the front with clear packing tape. |
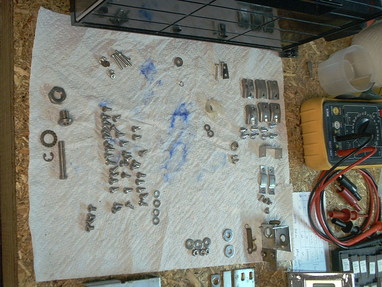 | Here is all of the little hardware sorted and arranged after cleaning. |
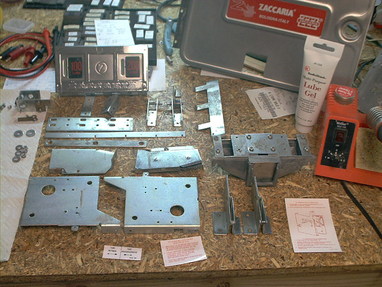 | And the other pieces. Note that I have put together some of the sub-assemblies here, like the coin entry bezel, and the coin return. |
[Editor's Note: I hate when I'm reading about a cool engine build-up in Hot Rod or some similar magazine and the guy doing the build-up pulls some impossible to find parts out from under his workbench. Unfortunately, I'm doing exactly that right here. Note the original coin entry bezel is broken badly. I happened to have a spare one that I'm using for this door. Over in the Projects section, I do document how to strip a broken bezel, repair this kind of damage, and have it rechromed. That's going to be the fate of this one, eventually.]
If the condition of the black frame is "good enough", I prefer to leave it alone, but if it's beat up or otherwise ugly looking, a few minutes with some spray paint can make a big difference. If the surface is reasonably smooth, Rustoleum Satin Black looks the best, but if the surface is all scratched up, use Rustoleum Hammered Black to hide the uneven surface. On this door, not only was the original finish all scratched up, it had some other black paint smeared here and there on it. So, Hammered Black took care of that.
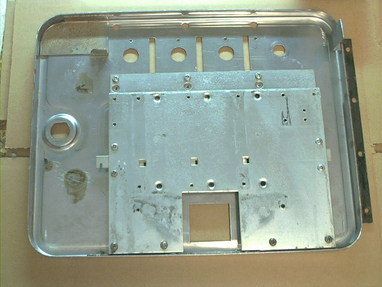 | Put down some cardboard, then lay the door face-down on it. The cardboard keeps you from attaching the door to your workbench. Reinstall the plate first. Don't forget the coin lockout mechanism parts that go on the back side of the plate. |
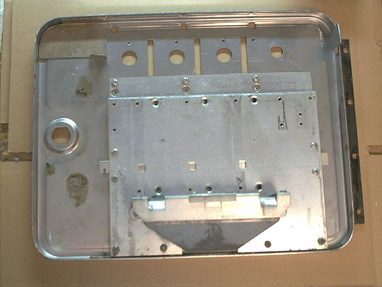 | Then reinstall the coin return chute subassembly. |
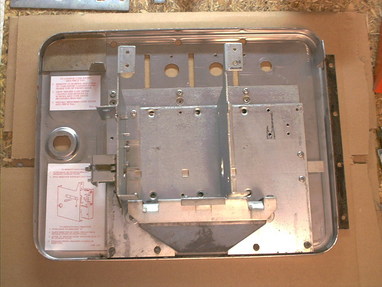 | Here, the two stickers for the door have been installed, and the sheetmetal parts that support the coin mechanisms. |
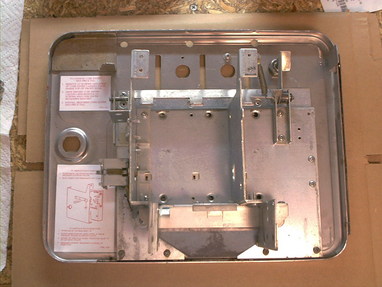 | The coin return mechanism goes on next. On this door, I had to scavenge for the coin return button assembly to replace the missing parts. |
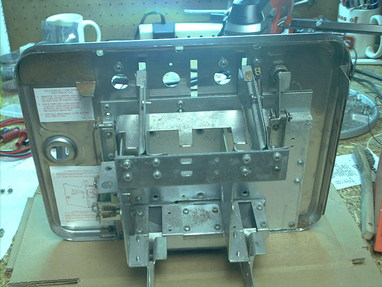 | Now reinstall the plate across the top, and the coin chutes. |
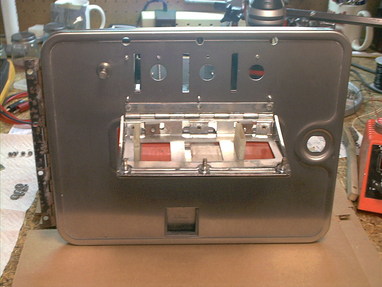 | And from the front, install the coin entry bezel subassembly. From the back, reinstall the plate, and the three nuts and washers that hold the bezel closed. |
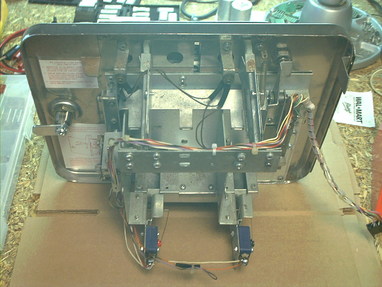 | Reinstall the wiring harness on the back side of the door. |
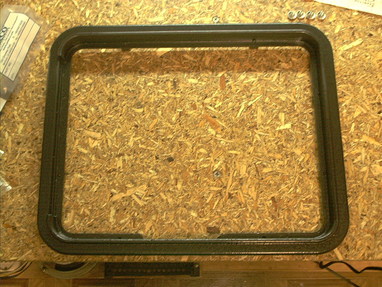 | The coin door frame gets a fresh coat of paint. On this one, I used Rustoleum Hammered Black. On others, I have used Rustoleum Satin Black. |
 | Reinstall the coin door frame. Install a new lock, and the door is done and ready to be reinstalled in the game. |
David Gersic info@zaccaria-pinball.com
Copyright © 2007. All rights reserved.
This document may be freely distributed so long as the content is not modified.